Makeup
My 7 Minute Makeup Routine
02 • 22 • 2016
I haven’t done a rundown of my current everyday makeup routine in awhile, yet I’ve been pretty consistent about the core products I’ve been using over the past few months. Here are the makeup products I use everyday– my whole routine takes me about seven minutes. Read on for my 7 minute makeup routine:
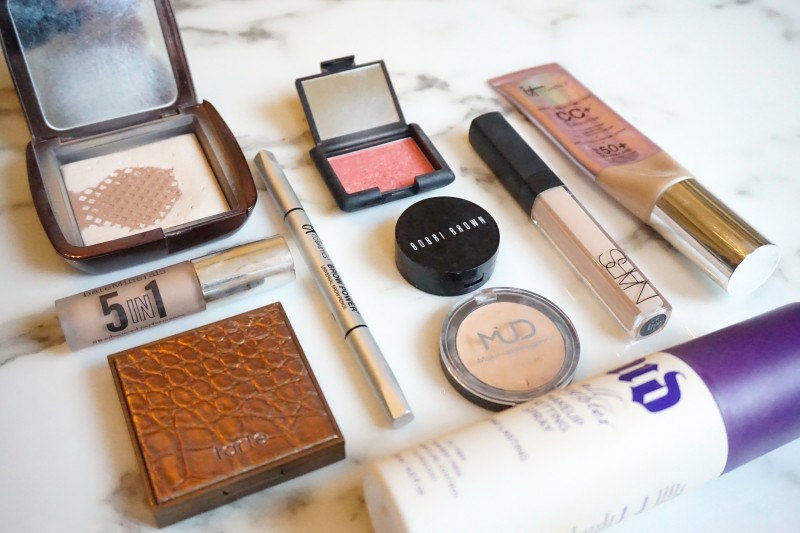
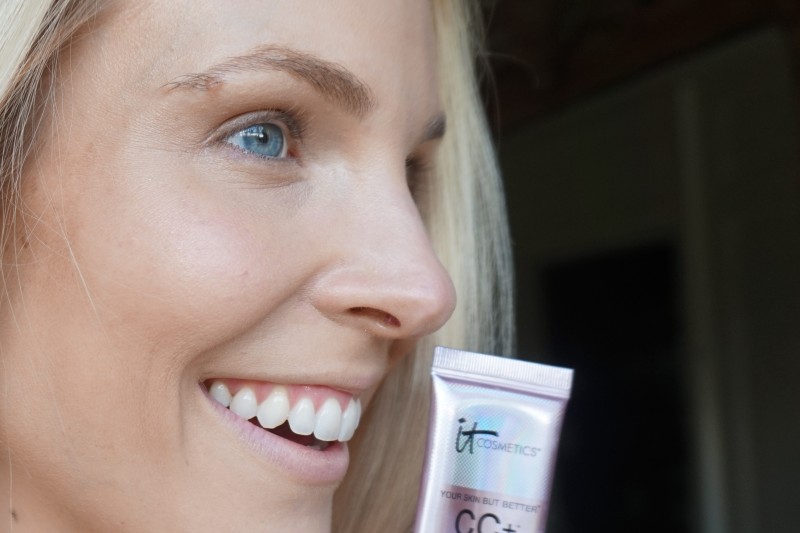
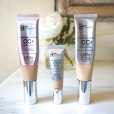
It Cosmetics CC Cream Illumination:
“Come ON, Mom! You’re sooo slow!!!” Ask my kids or husband– I literally won’t leave the house without wearing my It Cosmetics CC Cream Illumination (shade Light). Even when I just walk out the door to drive carpool or go for a walk and I don’t have the time/energy for my full 7 minute makeup routine, my CC Cream is the one product I apply.
Here’s why I love this CC Cream:
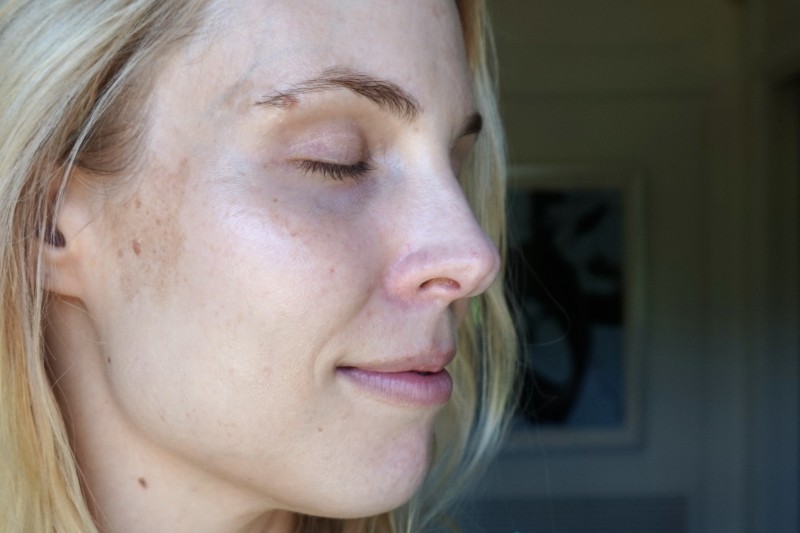
–it covers 90% of all my skin issues in one fell swoop– lessens the look of under eye circles, covers the melasma on my cheeks, conceals the redness around my nose, and adds a little glow and color to my pale skin. Confidence in a tube, ladies!
–quick application– I slap it on with my fingers just like I’m putting on moisturizer. Over my eyelids, everything. One check to make sure it is blended in around my hairline and jawline, and I’m out the door.
–superior physical blocker SPF protection. Lest you think vanity is my only concern (guilty, *almost*)- I insist upon having the It Cosmetics CC Cream on my face any time I step outside because it contains SPF 50+ of physical blocker protection- including high concentrations of zinc oxide and titanium dioxide– to give your skin the highest sun protection of any foundation/tinted moisturizer on the market.
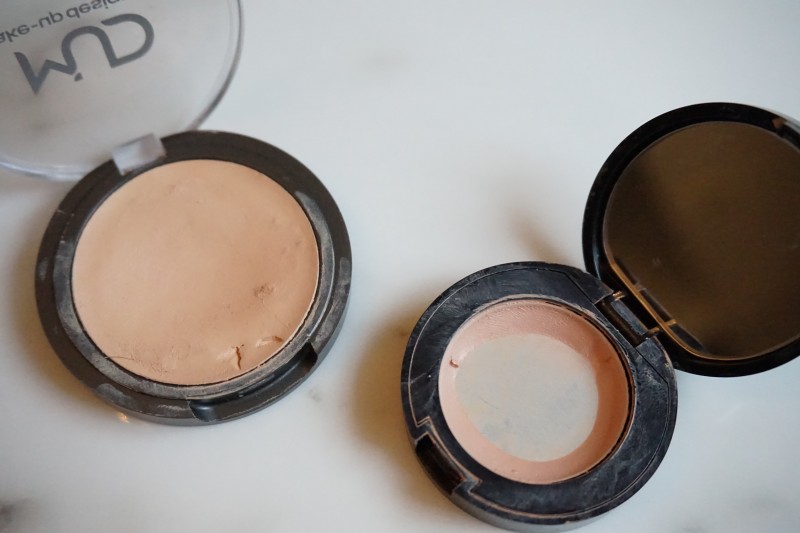
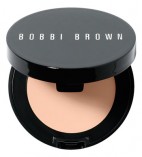
Under-Eye Concealer:
My hereditary dark circles are one of my main skin concerns, so I’ve developed a two-step process that covers better than anything else I’ve tried.

First, I use a corrector (yes, corrector is different than concealer). My former fave was Bobbi Brown corrector in Extra Light Bisque, but my new find is cheaper and has higher coverage! It is from a random brand called MUD (Makeup Artist Designory) that you can order on Amazon here or, if you’re in Houston, Studio A Salon (Sunset @ Morningside) near Rice Village carries it. Perhaps unsurprisingly I use the lightest shade called “Blue Corrector 1.”
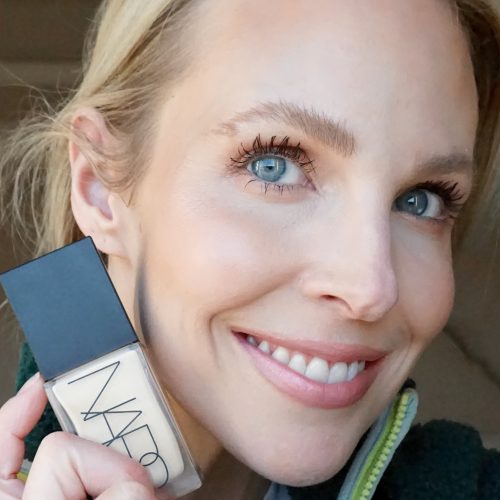
Sometimes the corrector alone is enough coverage for my circles, but if not, I dot Nars Radiant Creamy Concealer (shade ‘Vanilla’) on top. Important step: let it sit there, unblended, for a minute of so. (This old drag queen technique is called “baking” your concealer– trust me here.) Then tap in (don’t rub!) to blend with your ring finger.
Set With Powder:
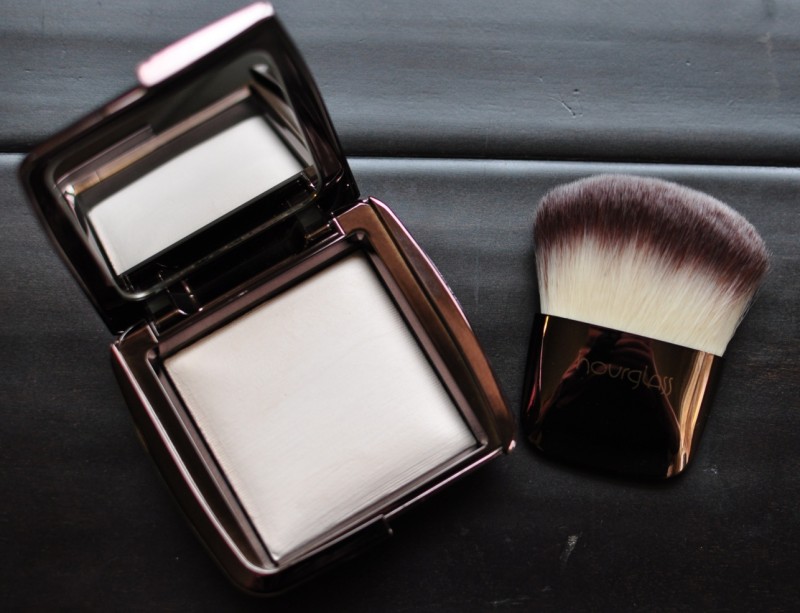
I’ve been using Hourglass Ambient Light Powder in Ethereal Light for awhile now (I’ve just hit pan!) Another favorite is Stila Baked Illuminating Trio in The Illuminators. Try to just dab or tap in the powder with a big fluffy brush (I use this cheapo powder brush and it is GREAT!)– if you sweep or rub, you will disturb the makeup you just applied underneath.
Bronzer:
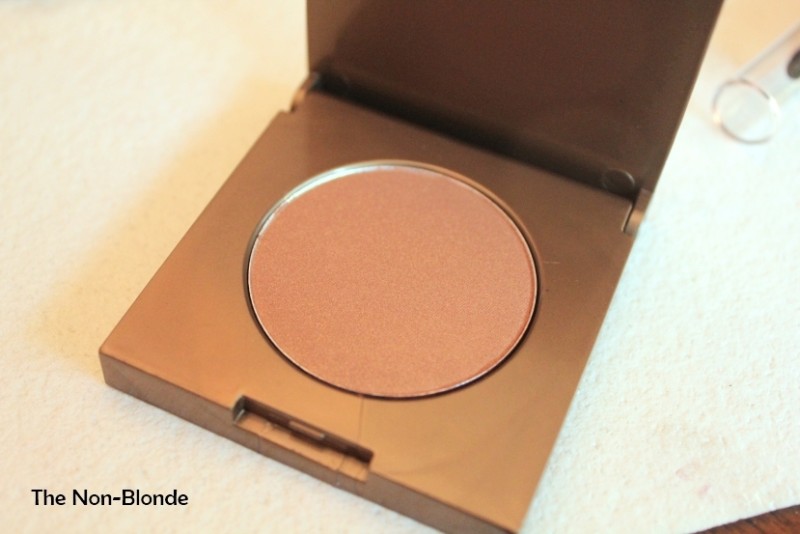
I sweep Tarte Park Avenue Princess along my forehead and hairline, on my cheekbones, and under my jawline (this trick really helps your jawline look more defined and not as puffy!) There’s a matte version of Park Avenue Princess and a shimmery version, and I actually like them both. I’ve been using the shimmery version lately. If you are a pale person, I think this is one of the most natural, non-orangey bronzers out there!
Blush:
Recently I’ve come back to the cult-favorite Nars Orgasm blush that I used back in college. It is a subtle, shimmery peach powder blush that works on every skin tone. I dab the Orgasm blush just on the apples of my cheeks, although the proper placement of blush changes based on one’s face shape (I’m an oval). For me, blush striped all along the top of my cheekbones looks dated (read: 1980s) and is aging.
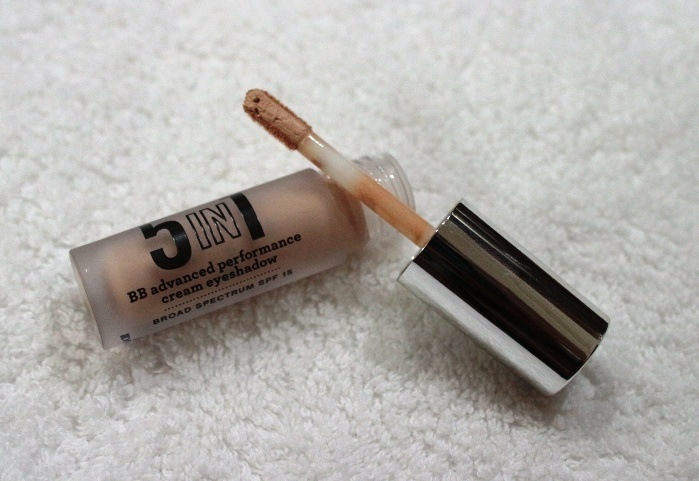
Cream Eye Shadow:
You could easily skip this step (and I often do), but when I take the extra 30 seconds to swipe my Bare Minerals 5-in-1 BB Eye Primer from lid to brow, I’m surprised by what a difference it makes. I wear the Barely Nude shade, and it looks like I’m not wearing any shadow at all. The creamy, crease-proof mousse formula never looks dry and covers up all the redness and veins on my eyelids. As we age, our eyelids get darker, redder, and more veiny- not so pretty. The BB Eye Primer totally fixes this problem and gets you back to square.
Annoying that it takes an extra step to look like you’re wearing nothing at all, but welcome to your thirties, ladies.
Brows:
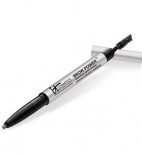
Filling in sparse brows draws the eye upward, giving you the appearance of an eye lift! If I want a perfect, defined arch, I swear by It Cosmetics Brow Power Pencil in Universal Taupe. This shade works on every complexion and brow color, I swear!
If I’m going for the feathery, not-as-groomed bold brow that is so hot right now (hello, Gigi Hadid!), then I use Maybelline Brow Drama brow mascara in Blonde.
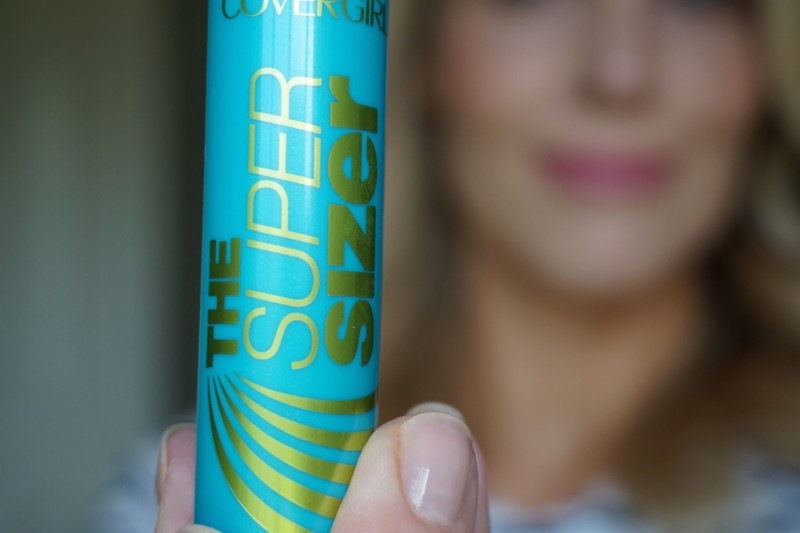
Mascara:
Much to the annoyance of my mom, I often skip the mascara step. She says my face looks blank, and she’s right. I totally look better with mascara, but sometimes it seems like such a pain to apply, especially when my eyelids are all puffy in the morning. I do feel like the blonde lash, mascara-free look is kind of having a moment right now, courtesy of Gwyneth:

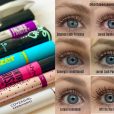
So if I wear mascara (I know, Mom, I really should), I love the CoverGirl The Super Sizer mascara in Black Brown. You can really skip the eyelash curler with this mascara! It will lift and lengthen your lashes for a wide-eyed look.
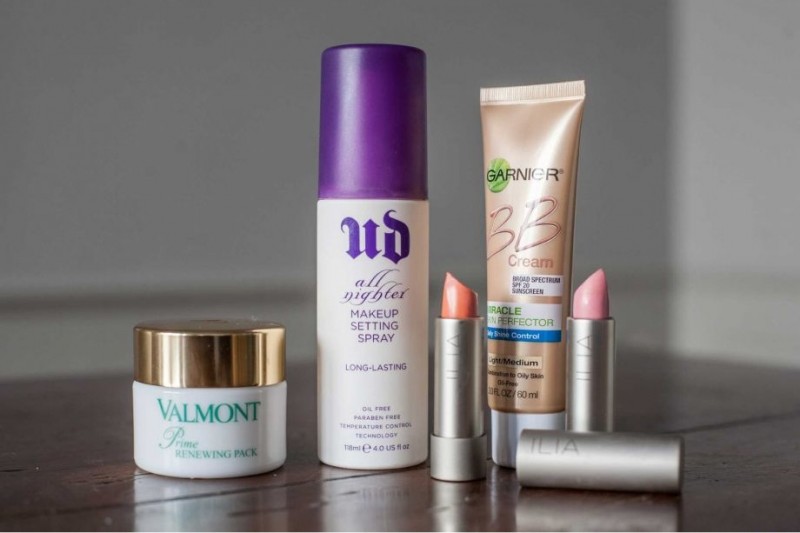
Setting Spray:
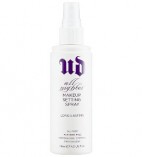
Setting Spray might seem like a superfluous step, but it makes such a difference in the wear time of your makeup! Why waste your precious seven minutes meticulously applying makeup if it’s going to be gone by lunchtime? I swear by Urban Decay All-Nighter Setting Spray.
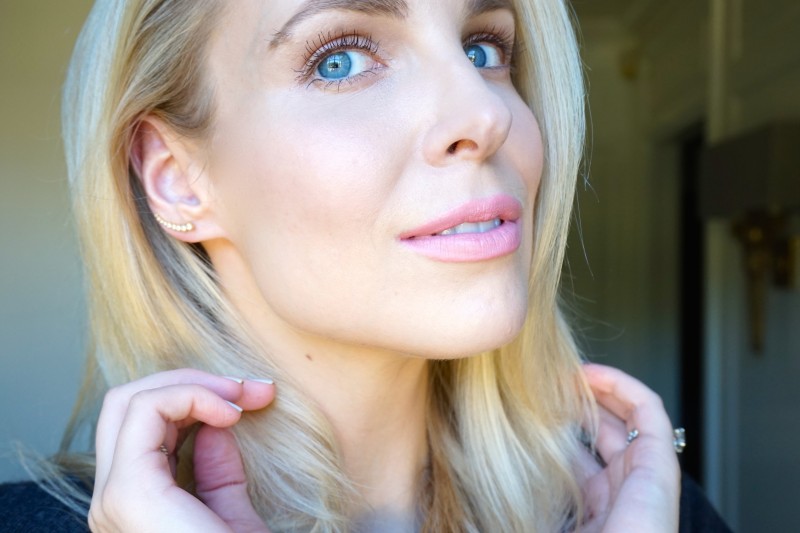
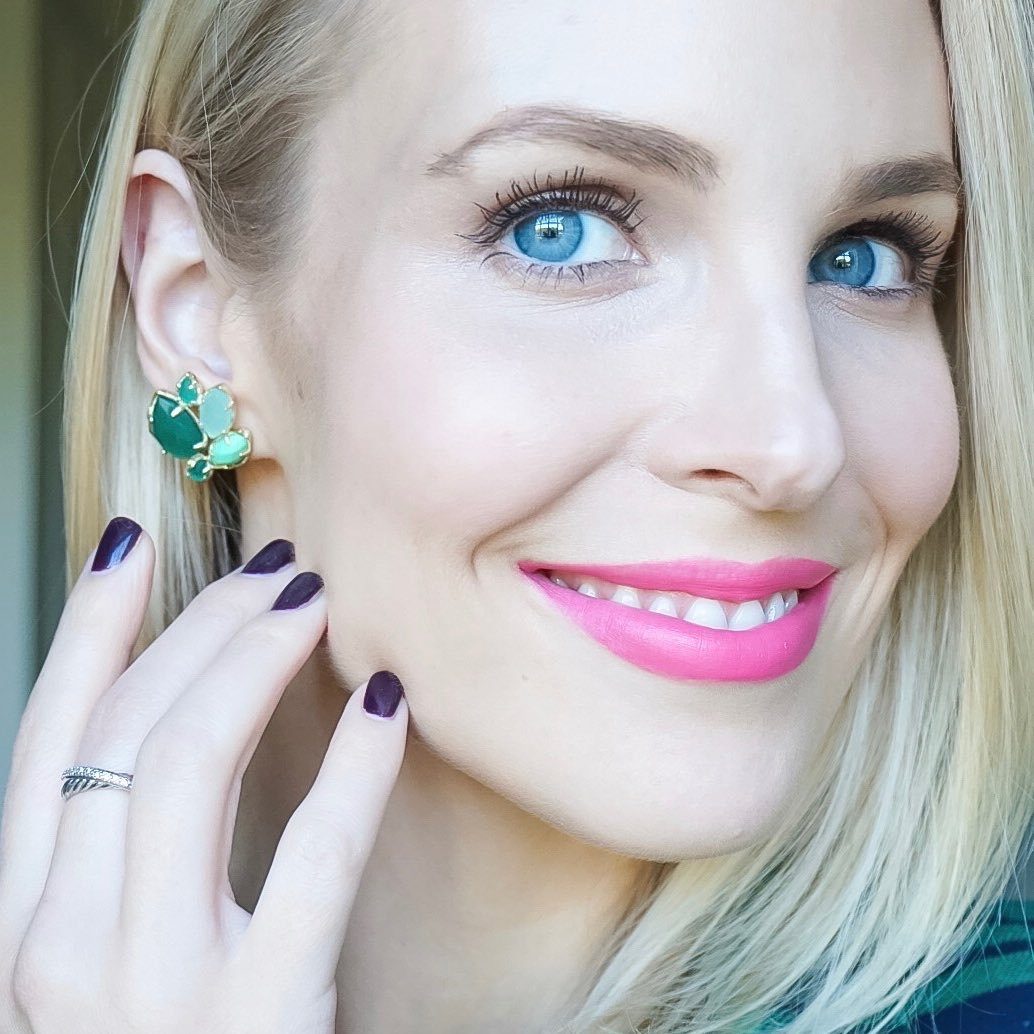
As I analyze the steps above, I realize that 85% of my time and products are devoted to covering imperfections and perfecting the skin. I’m always just trying to present a freshened-up, enhanced natural version of myself!
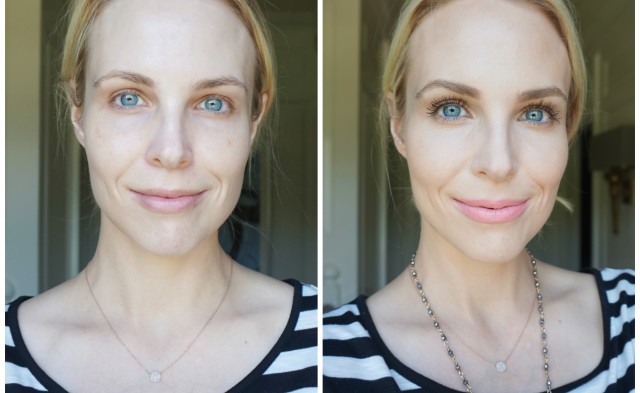
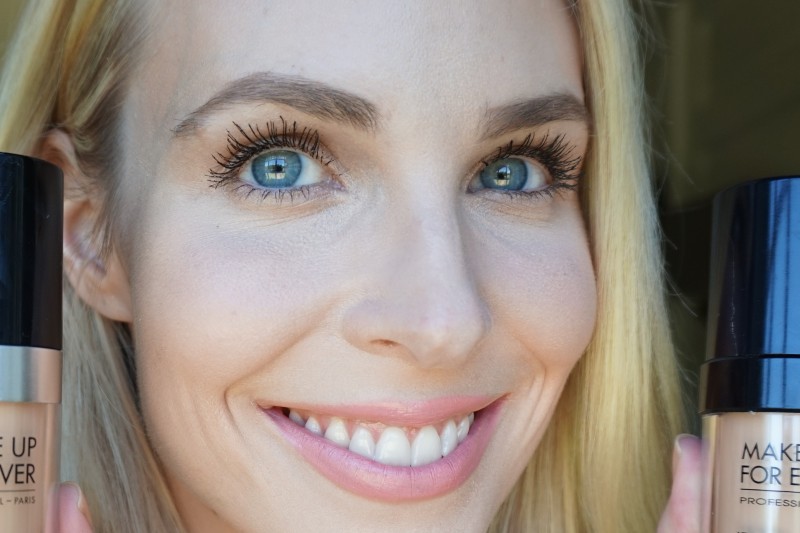
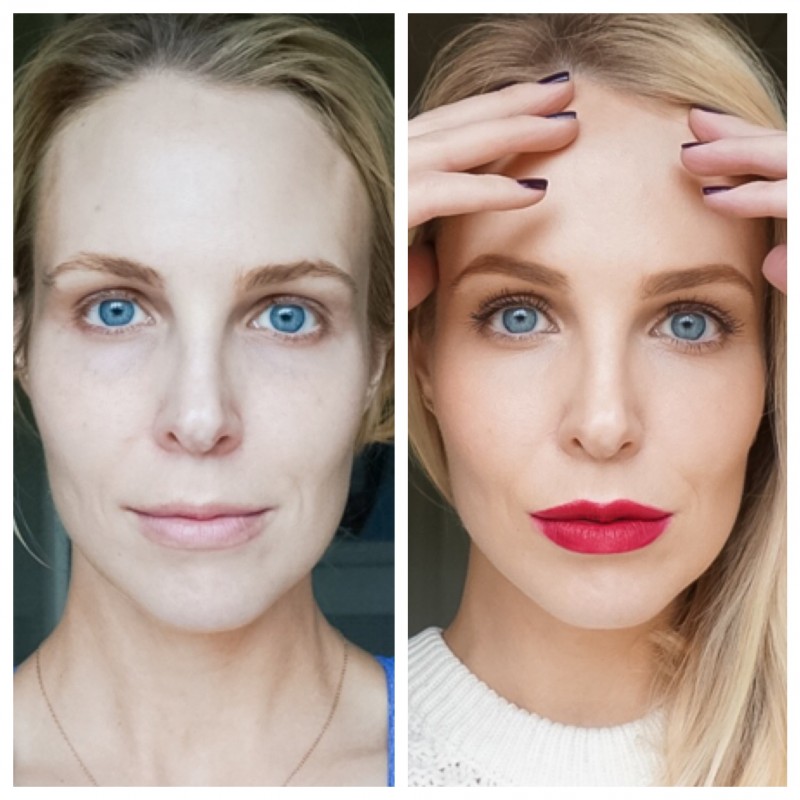
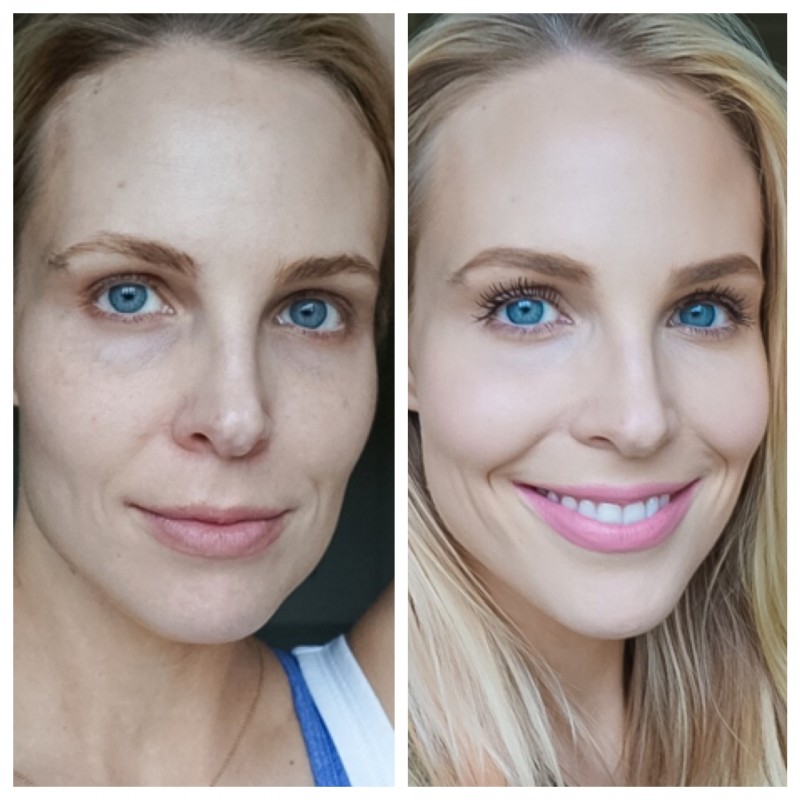
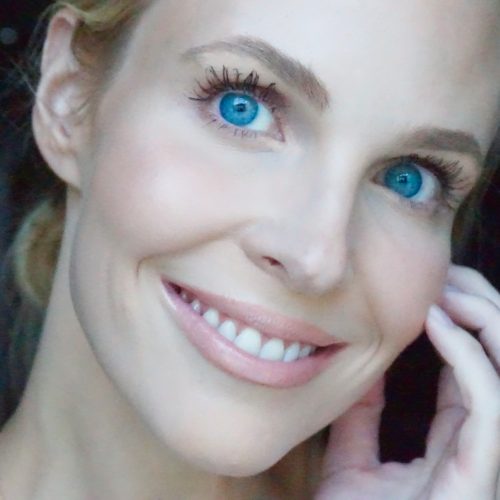
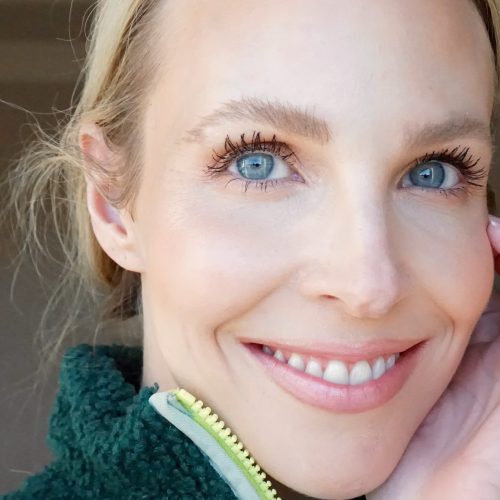
Some before and afters of using the everyday makeup routine I described above. Make sure you’re following me on Instagram @beautynowapp where I post my transformations!
P.S.: the lovely rose gold pave diamond necklace I’m wearing in the opening photo (and all the rest of the time) is by Andrea Montgomery Designs.


Gorgeous Kathleen – as always! Thanks for sharing this. My make-up and skincare routine has gotten so much better since you started blogging :)
Thanks, Noelle! You are sweet to say that and thank you for reading. xoxo
This was a really well written piece. Loved your simplistic transformation and the honest reviews of the products!
Thanks, Aly! So sweet of you to say. Thank you for reading and for your kind compliments.
Gorgeous before and after! Love the simple makeup routine, sounds like mine:) I did get some great ideas from you so thank you! Love the CC illumination cream you reccomended. I’m obssesed! BTW what is your favorite everyday eyeshadow pallete? I heard the Too faced Peanut Butter and Jelly pallete was awesome. Have you tried it?
Thank you so, so much! I’m glad you like the CC Cream- not sure how I would live without it! I really don’t wear eyeshadow everyday anymore– I feel like a lot of shadow makes me look older for some reason. I do use the Bare Minerals BB Eye cream shadow all over from lid to crease because it brightens, covers, and evens out my eye. I will have to try the PBJ palette for nighttime though! Thank you!!! xoxo @beautynowapp
http://obatasamurat.135street.com/ i love the simple makeup routine
Thanks, Nabila! xoxo Kathleen
Hi! Question: do you use the hourglass powder all over? Or where do you apply it? Great post.