Lifestyle
How to Look Photo Ready
10 • 28 • 2017
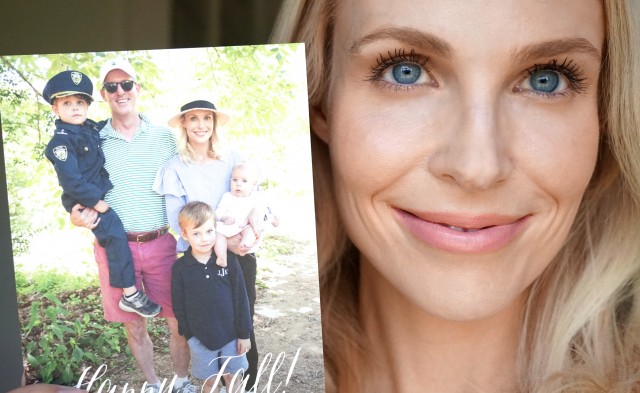
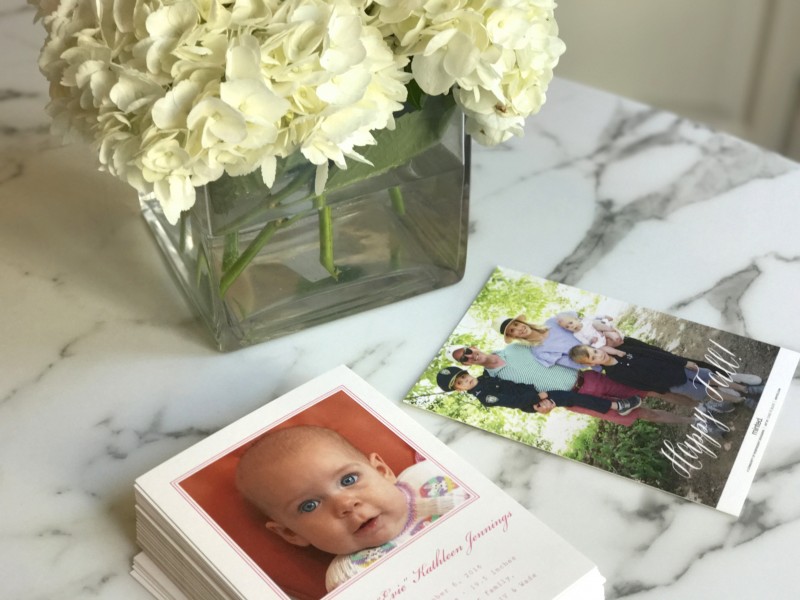
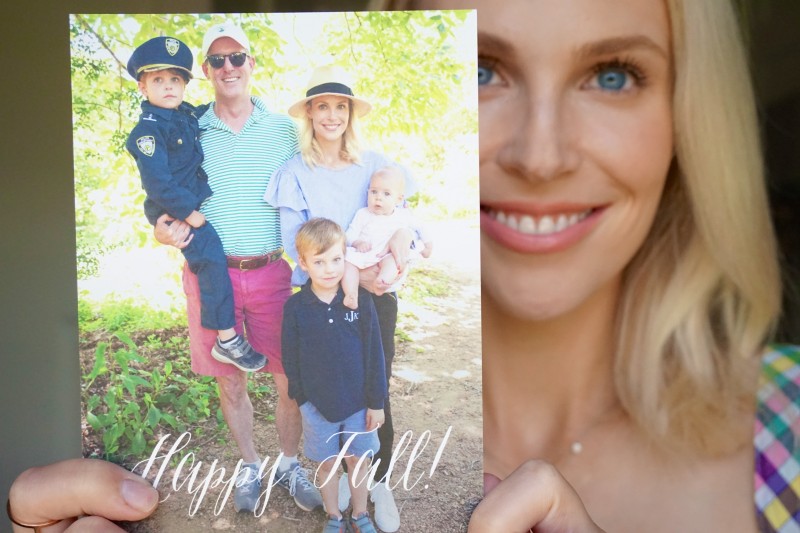
You might think I’m a tad late on birth announcements given that Evie just turned one, but you’d be wrong. Evie’s announcements double as a “Happy Fall!” card with a family photo, so I am actually *early* to the holiday card game. Since this is the time of year when we are all posing for family photos, I was inspired to share Evie’s birth announcements from Minted and give you my four easy tips on how to look photo ready:
#1: Thou Shalt Not Eat, Drink & Be Merry
The #1 most important thing you can do to look photo ready in the morning is actually free. If you do only one thing from this post, do not drink alcohol or eat salty restaurant food the night before your photo shoot. Whenever I am going to be on camera or I have a big event, ideally I do not drink for two nights before. Abstain more nights than that and you will get diminishing returns (looks vs. quality of life). Unfortunately you cannot Benjamin Button yourself back to your 20s just by forgoing wine, but do it two nights in a row and you will look like a drastically better version of yourself.
For goodness sake, do not go out for sushi or Mexican the night before! Eating salty restaurant food is a surefire way to look puffy, have bags under your eyes, and not sleep as well the night before your shoot. I either cook something simple and low-carb like salmon in the oven with a salad, or just do the salad bar at Whole Foods. Try to avoid lots of carbs and processed foods because it will make you bloat and puff up your face.
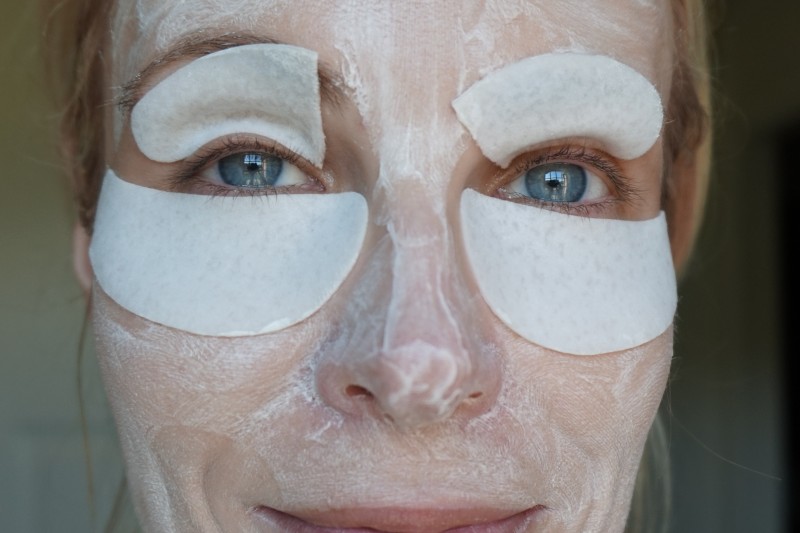
#2: Get Your Mask On
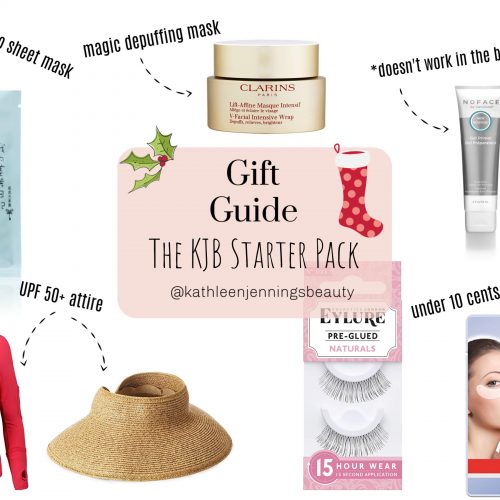
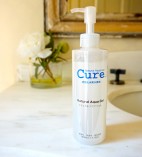
If you decided against following my first rule, there is still hope for you. To depuff eyes for that early morning shoot, wear the Skyn Iceland Hydro Cool Firming Eye Gels. I cut them in half lengthwise to depuff both my upper and lower lids. Or try the ultimate depuffing mask, Valmont Eye Regenerating Mask. It works incredibly well, but is extremely pricey!
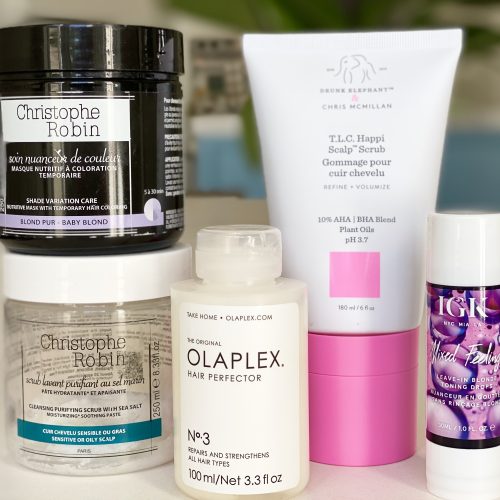
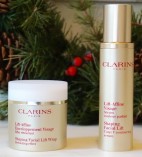
Yes, you do have time to put a mask on your face the morning of your photo shoot. Just put it on first thing in the morning, and leave it on for 25 minutes while you fix breakfast and dress your little ones in those coordinating monogrammed polos. It will make a world of difference! If I have a photo shoot, I usually wear one of two masks. If I am puffy, I use the Clarins V-Facial Intensive Wrap (full post about that amazing mask here). It also brightens and evens skin tone, so it covers a lot of bases with one mask. And remember, when they say the camera adds ten pounds, it adds it to your face too. So make sure your jawline is as sharp and contoured as it can be!
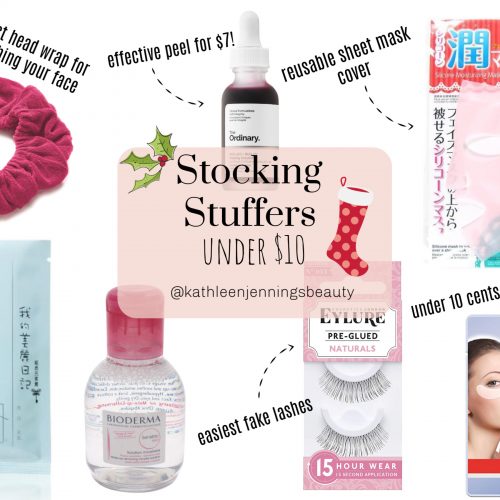
If you followed rule #1 so you are not puffy, then I would recommend wearing a sheet mask. A sheet mask is the quickest way to hydrate, plump fine lines, brighten and minimize pores so your makeup looks very smooth. The gold standard for sheet masks is the pricey SK-II mask, but I usually use the cheaper Korean My Beauty Diary ones. The advanced move would be to apply the Clarins mask, rinse off, and then do the sheet mask. There’s apparently a term for this: a “mask binge.” Guilty!
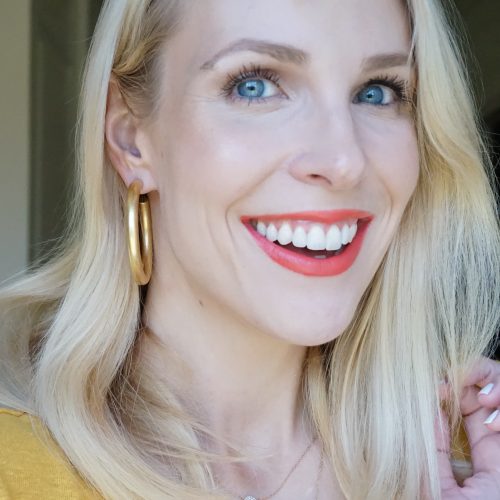
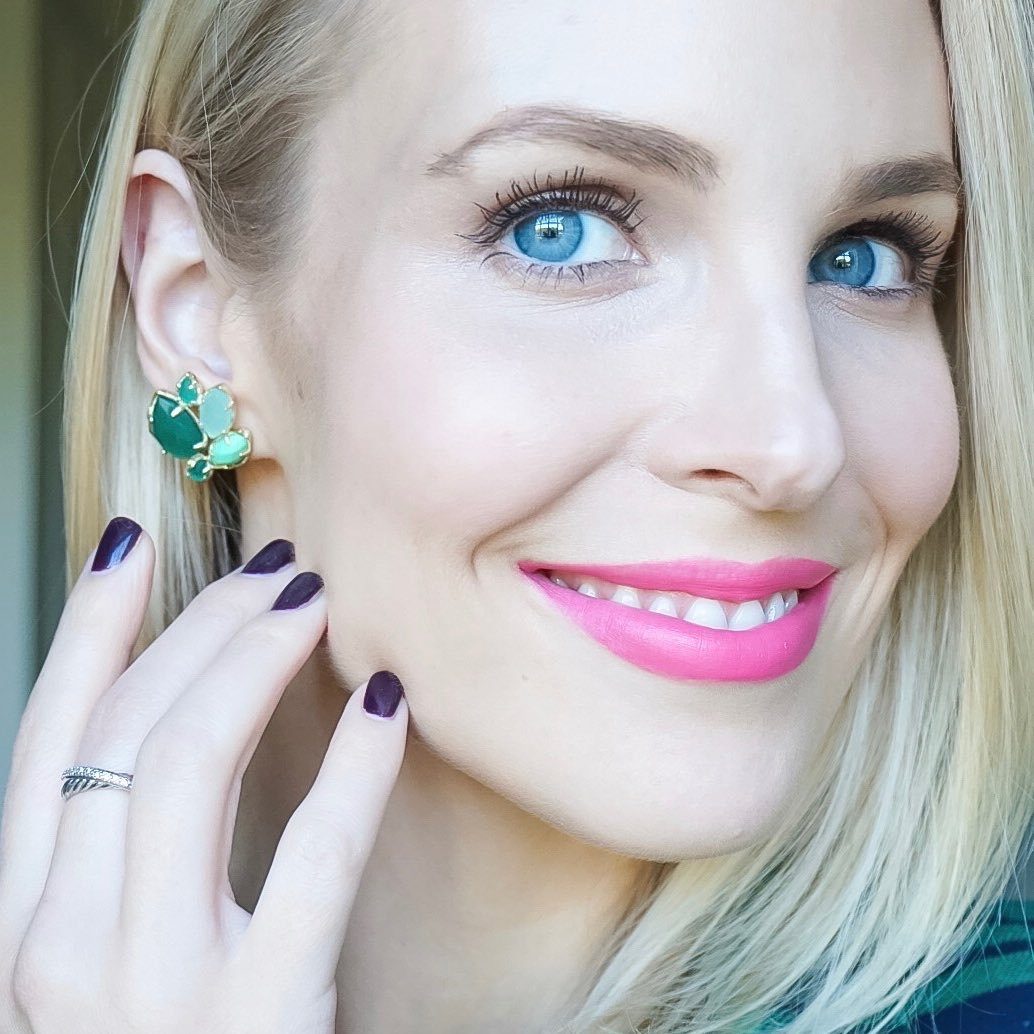
#3: Matte Makeup Looks Better
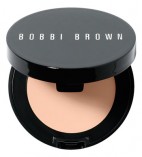
While a dewy finish is more flattering and “real” in person, matte finishes work better on camera. If you have too much light bouncing off of your makeup, it can accentuate blemishes, sagging, or other imperfections. So make sure you set your makeup with powder. I recommend It Cosmetics Bye Bye Pores for a completely matte look, or lately I am liking Too Faced Peach Blur Finishing Powder for a slightly more illuminated look. But importantly, remember to powder your T-zone right before you take the photos. I cannot live without my Clinique Perfectly Real Compact Makeup (in Shade 120) that has been a purse staple of mine since college. It adds a little more coverage and lends a very “done,” matte look.
The same rule goes for glossy lips- while I like the shiny look in person, I think a more matte or satin finish plays better on camera. Don’t do anything too weird- just a nice, nude lip that enhances your own natural color. First I like to line and fill in my lips with Urban Decay Glide-On Lip Pencil in Native or Gubby to fill in lip lines and give the lip color lasting power. Then I apply a creme lipstick- right now I’m loving the Charlotte Tilbury formula. My favorite shade is the light nude Kim KW (Ooh! And it also comes in this lipstick trio set that would be perfect for Christmas!). Kim KW might be too light for most, so for a safe bet try Nude Kate.
#4: More Eye Makeup Than Usual
Be a bit more heavy handed with your eyeliner and mascara, because we want to make your eyes pop instead of fading in with the rest of your face. While I usually don’t wear eyeliner during the day, for photos I add dark brown eyeliner, like Laura Mercier Longwear Eye Pencil in Espresso. Trace a line across your top lashes, but don’t worry about making it too perfect since you can smudge it a bit with a small smudge brush.
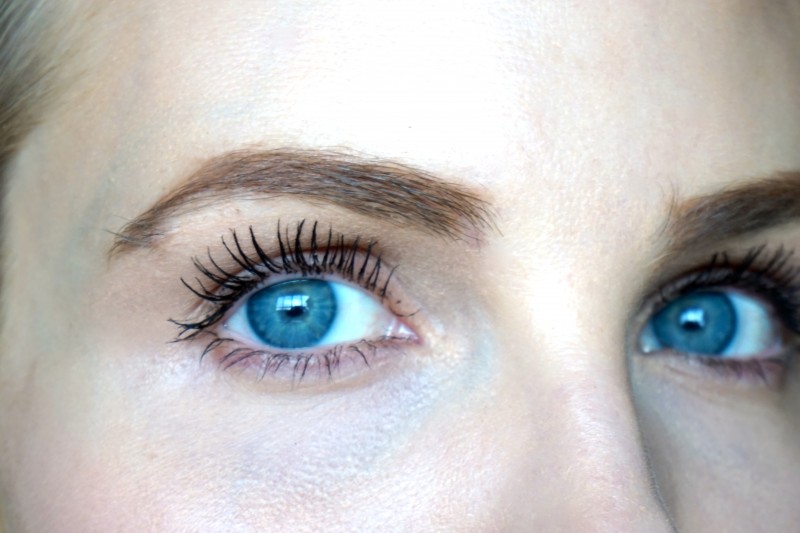
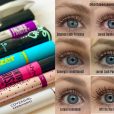
I usually use Cover Girl Super Sizer in Black Brown for day, but I wear the more dramatic Loreal Voluminous SuperStar mascara for nighttime and for pictures. Even though it is too much for daytime, in the photos it looks totally natural.
Too much work? Another option is to skip steps 1-4 and just get photos of your children.
Happy posing! *This post was brought to you in partnership with Minted. Minted gave me a credit toward the purchase of my holiday cards in exchange for a blog post about my experience. But the joke’s on them since I was going to use Minted anyway, credit or no credit, after having a bad experience with Tiny Prints years ago. Minted has a user-friendly website and more current, fresh card and stationery designs. I also love Evie’s thank you note stationery (that I bought on my own dime). And that’s my honest opinion.
xoxo,
@kathleenjenningsbeauty


This is fantastic play by play instructions. I always get overwhelmed and freaked out about my outfit, i forget about other essentials. No wonder i always look like a mess. Love this!