Makeup
How to Cover Up a Flaky Pimple
11 • 20 • 2014
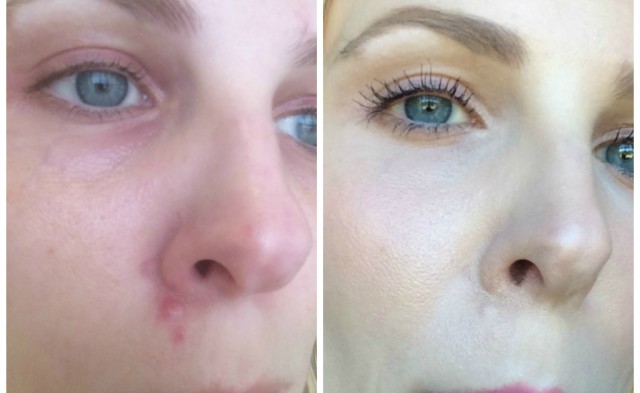
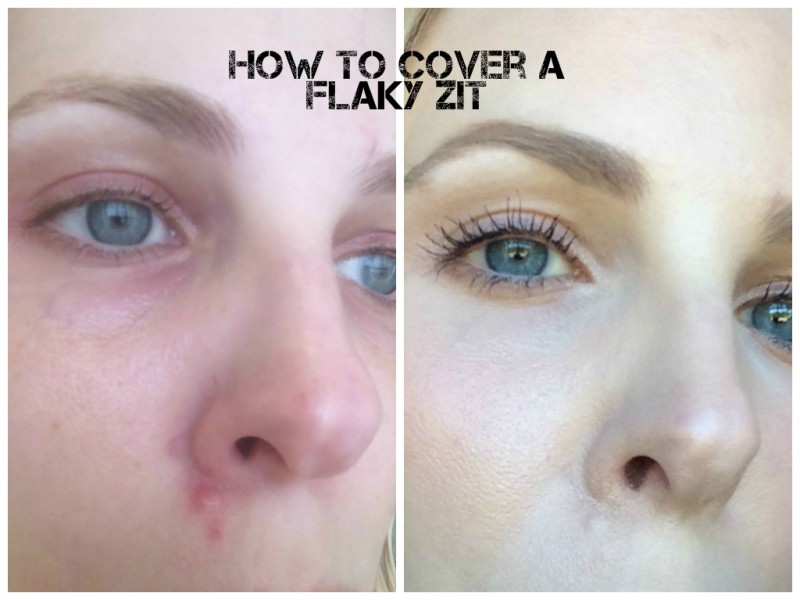
Blame it on hormones, pre-holiday stress, or this crazy changing weather, but we have all experienced a painful, monster zit that appears out of nowhere, taking up permanent residence on yo’ face. Just in time for your big party/reunion/photo sesh. For all you lovely readers who have complimented me on my skin, let me assure you that I definitely get zits, even at the ripe old age of 34. Not all the time, but when I do, they are EPIC. So I thought I would blog about how to cover up a flaky pimple. Check out the doozy I am rocking today:
It’s kind of a colony of 3 zits. I opened the door [without makeup] for the UPS guy, and he recoiled in horror: “My God, what happened?!? Did you get punched in the nose??” Awesome. When I took off my makeup at night, my sweet husband said, “Whoa! I had no idea what was going on under there. What do you think it wants?” Like, he personified my pimple.
So your choices in an EPIC ZIT situation are: (1) pay $$ for a dermatologist to inject cortisone into the zit (around $80, but sometimes insurance covers it); (2) cut bangs. I actually did this in 1997 when I had TWO huge zits appear on my forehead the day before the Homecoming Dance. I have not worn bangs since because, well, see photo below:
Third option: try to treat zit at night, and cover with a lot of makeup by day. Here is my step by step pimple cover-up process:
(1) when you get out of the shower and your skin is somewhat damp, GENTLY rub your towel or washcloth over the area to loosen dry, flaky skin. I much prefer this method to a facial scrub because a scrub is too harsh and will cause more redness and irritation in the area. The skin is already sensitive if you have been putting on salicylic acid at night to treat the zit. Gently pat dry and wait for redness to die down.
(2) Apply your normal moisturizer or sunscreen all over your face and wait to soak in. This may seem counterintuitive, but it is a delicate dance between drying out the zit, and making the surrounding skin a big, flaky mess. I have been using Elta MD UV Clear Broad Spectrum SPF 46— it does not sting my delicate breakout area, and the lotion contains niacinamide which is supposed to fade red marks.
(3) After waiting for the moisturizer to soak in thoroughly, assess whether there are any straggling flakes. Sorry if this is TMI, but scratch those away with your [clean] fingernail. Very important here– DO NOT PICK at your zit. Just remove the white, dried out flakey edges around the zit so your makeup goes more smoothly on top. Only the flakey parts that brush away with no effort– if you start peeling away layers on top, it will bleed and be impossible to cover up.
(4) Apply an oil-free primer all over your face. I swear by Laura Mercier Oil-Free Foundation Primer because it creates a smooth canvas for your makeup, and will also prolong the concealer you are about to artfully apply.
(5) Apply a foundation with a little more coverage than you usually wear. I like It Cosmetics Full Coverage CC Cream Illumination (in Light) because it has high coverage, a subtle glow, and is invisible on the skin. Plus awesome physical blocker SPF protection! I also recommend applying the foundation with your fingers as opposed to a beauty blender or a brush.
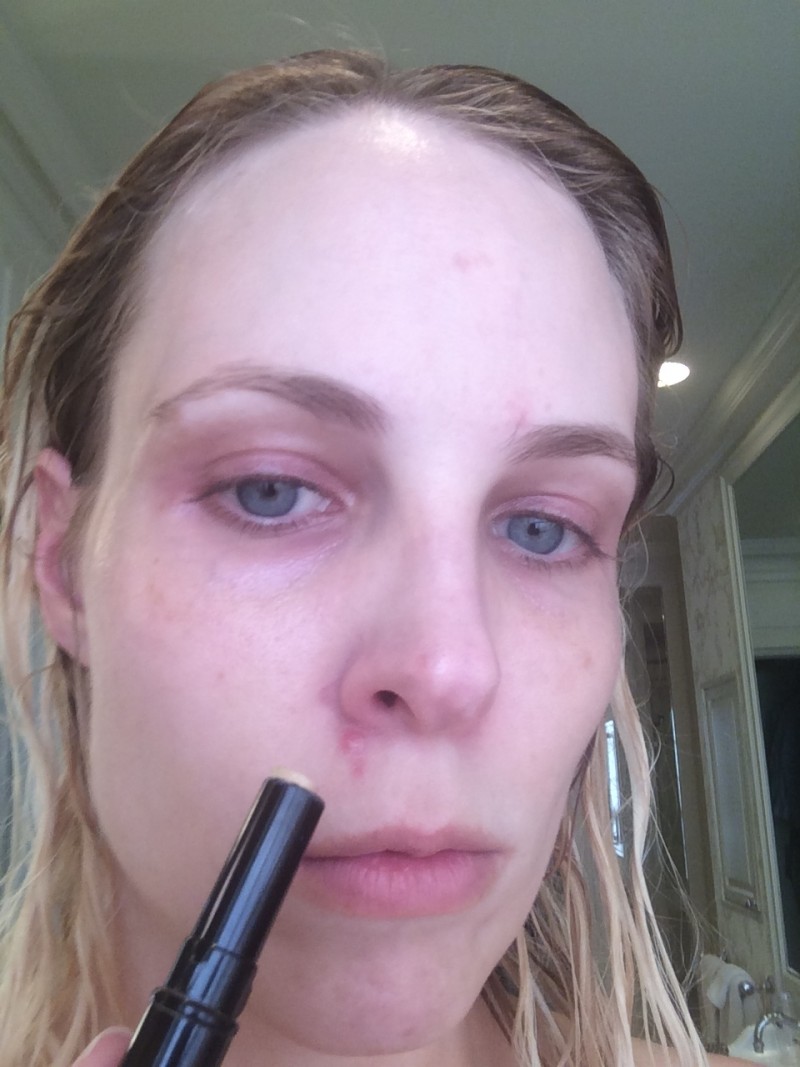
(6) Put Bobbi Brown Face Touch Up Stick [Update 2/19/17: ugh, just heard this is being discontinued, and I struggled to find it online. Buy this up now] directly on the zit, and wait for about a minute for it to dry slightly. As it dries, it will become tacky and will not move from where you placed it, keeping coverage where you want it. The Bobbi Brown Face Touch Up Stick contains natural kaolin clay that actually helps to treat the zit with its oil-absorbing properties. Lightly tap the concealer to blend in. It won’t look perfect yet, but that’s ok.
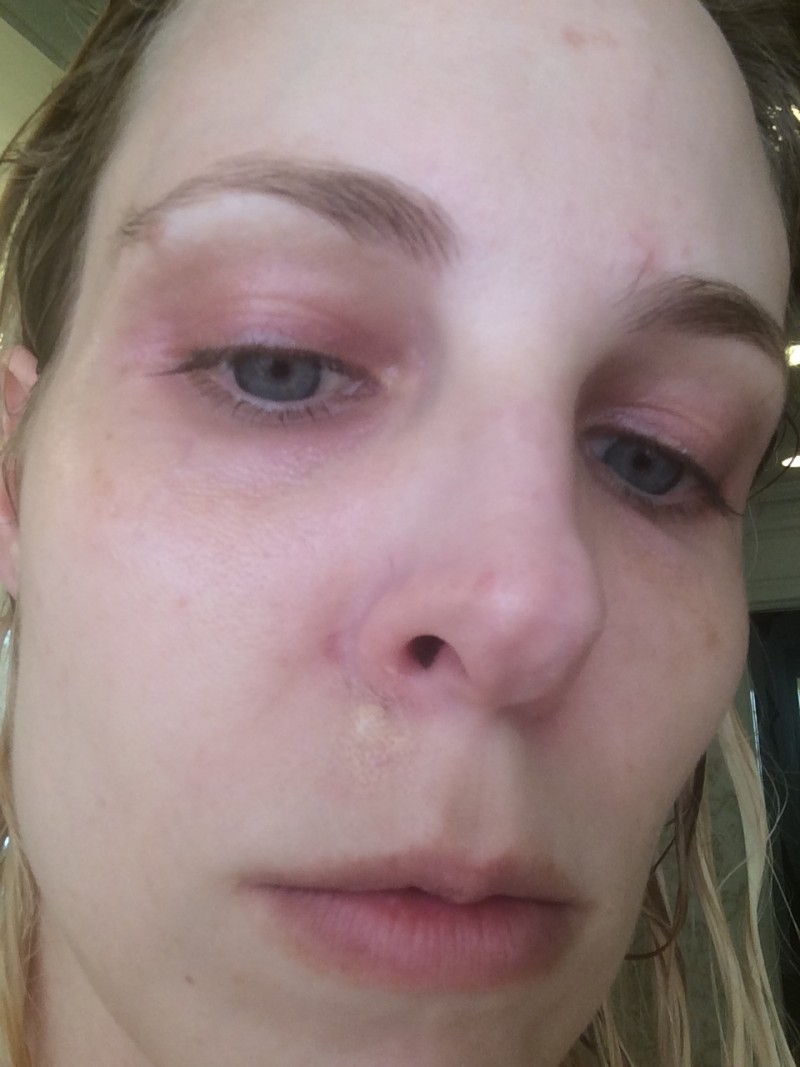
In the photo below, I don’t have any foundation on yet. That is a mistake– foundation first, then concealer. Otherwise the foundation will mess up the careful placement of your concealer.
(7) To continue building coverage over the redness, I recommend the Susan Posnick ColorCorrect concealer pencil (I also sometimes use it to cover under eye circles, as I blogged about here). The Susan Posnick pencil has the perfect consistency and coverage to cover zits. And don’t think you can just substitute any old concealer pencil here! For instance I have the Loreal True Match concealer pencil and it doesn’t cover nearly as well. (Susan Posnick is available at Kuhl-Linscomb in Houston).
(8) Lightly dust loose powder all over your face to set the makeup, and to mattify. You will still have the underlying bump of the zit, but the contours of the bump will show less if it is matte, as opposed to a dewier finish. I’m loyal to Stila Set & Illuminate Baked Powder Trio (in “The Illuminators”) [Update 2/19/2017: like all good things, this just got discontinued. I like Nars Light Reflecting Setting Powder ok, but I’m just really depressed about the Stila being discontinued] because it is like an Instagram filter for your face, and also makes the your concealer blend in a little more with your skin/foundation.
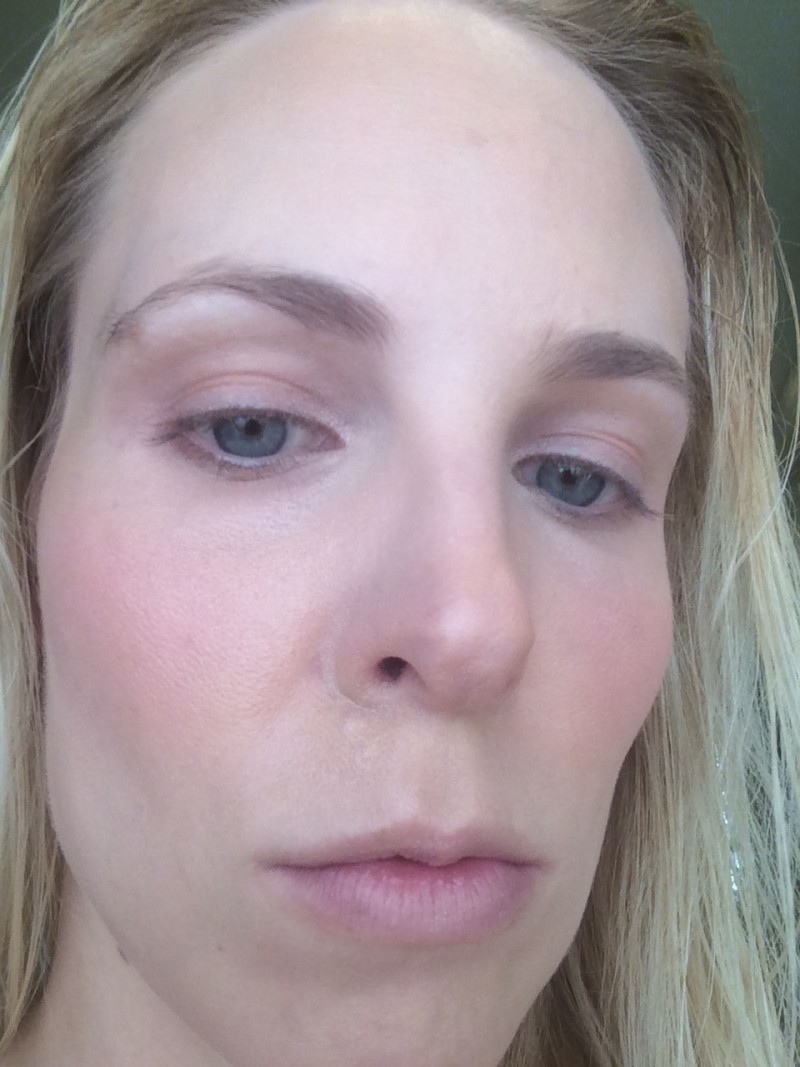
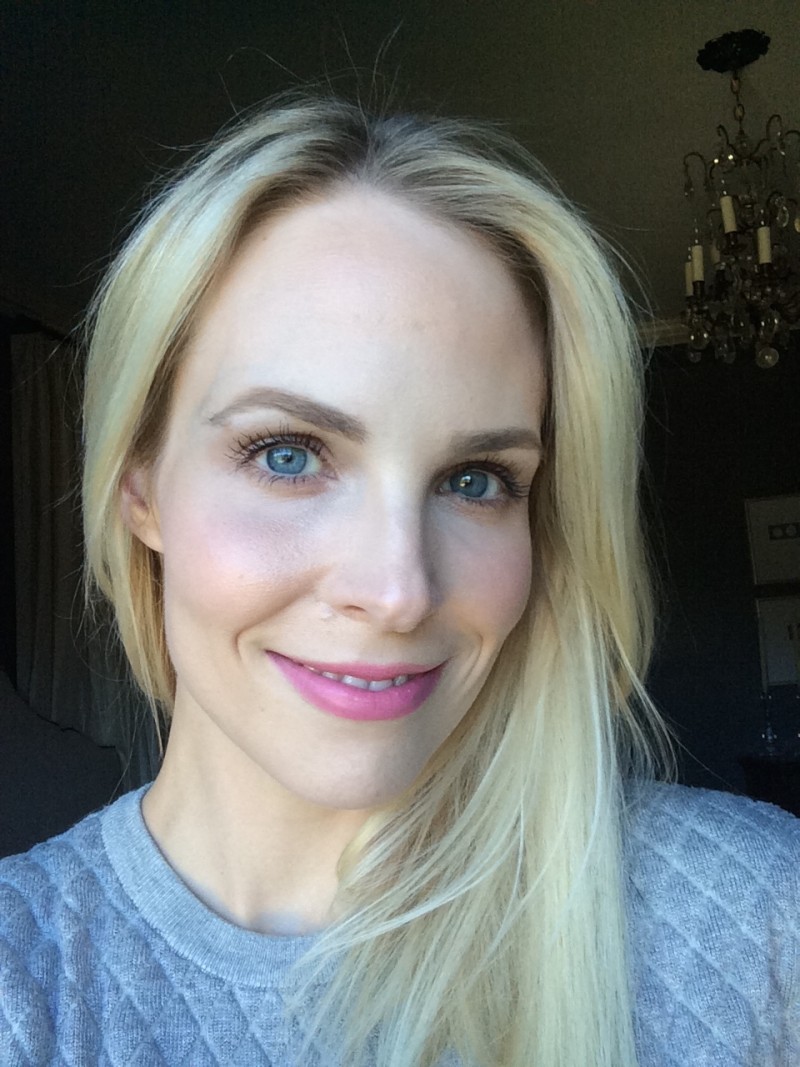
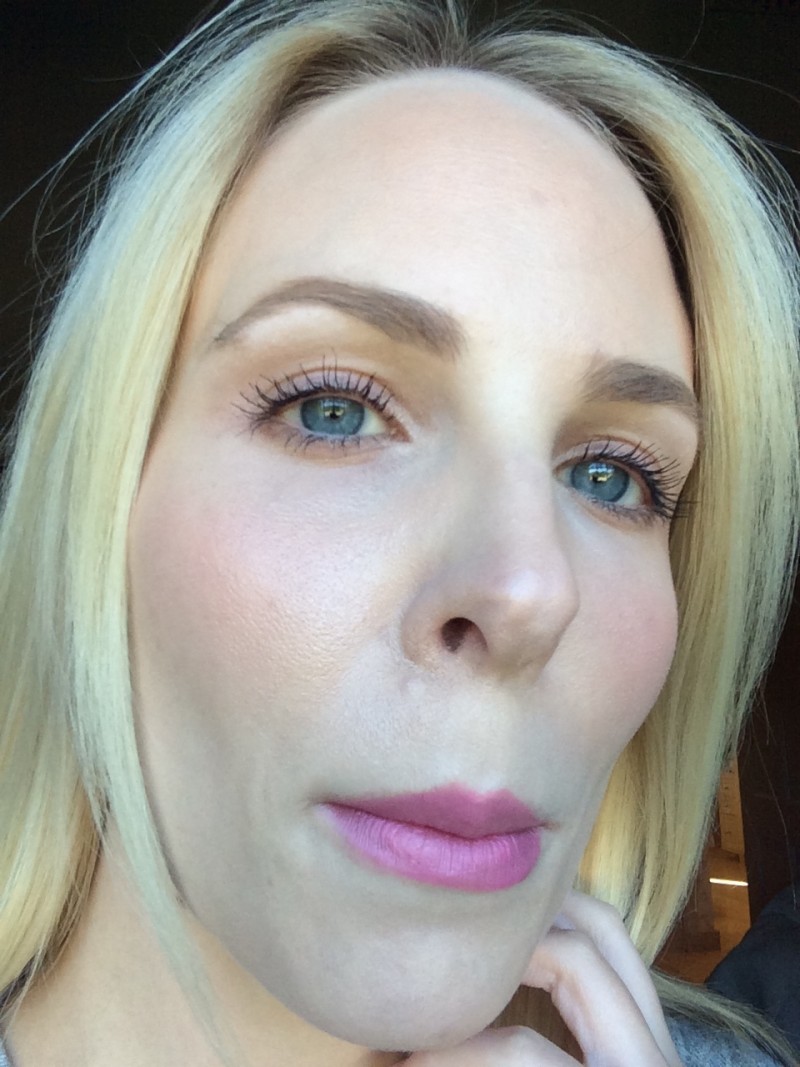
Here’s the finished product below! You can’t do anything about the bump, but with the high-coverage concealers available today, there is no excuse for any redness showing through.
Please ‘Pin’ the below photo so others can find this blog post on Pinterest! Thank you!
xoxo,
@kathleenjenningsbeauty










Thanks for this article
if whant to see:
The biggest zits popping 2015
Thank you! I look like I was stabbed in the chin at the moment and although I’m really not a vain person, I’m so embarrassed–at 42!–that I’m considering calling in sick. :(
Ha! Been there :)
I have been getting dry, red, flaky skin around my nose and eyebrows. My doctor thought it was eczema. Someone suggested Foderma eczema serum to me, instead of prescription stuff. I am so glad they did. It works really well and is soothing to my skin. It also absorbs quickly and isn’t greasy, making it easy to apply make up over it. I use it morning and night and won’t use anything else.
Dermalmd blemish serum only dries out the places that need healing. It has no negative effect on the healthy skin around the problem areas. After the skin dries & peels, then this serum doesn’t dry out the skin anymore.