Makeup
Easy Brow Tutorial
10 • 09 • 2020
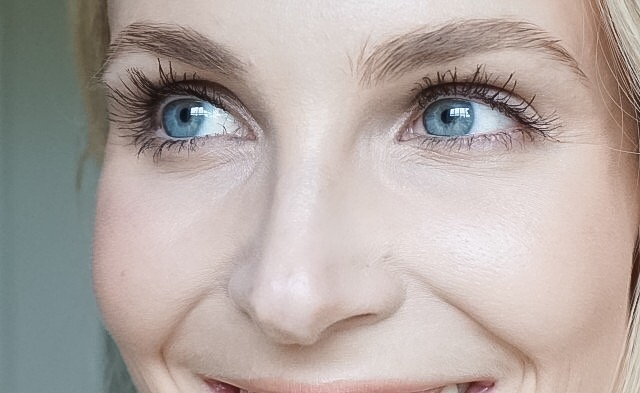
As far as makeup goes, all that really matters now is from the mask on up! Since everyone’s #ootd now involves PPE, our lashes and brows have taken center stage. Microblading your brows is a great option (I wrote a full blog post on it here), but I am afraid to try it myself because I am so picky about my brows. Also I don’t want to endure the downtime when your brows get super dark while they are healing. So I have always done my own brows- just plucking and trimming stray hairs and filling in any sparse areas. Here is my easy brow tutorial for faking the perfect arch- including a quick and dirty method!
Disclaimer
Tarte compensated me to write this post. Tarte gifted me with the DIY Brow Detailing Pen but I owned all the other products mentioned prior to this collaboration.
Also Tarte created a discount code for y’all- use code KATHLEEN for 15% off sitewide on Tarte.com!
Choose Your [Brow] Weapon
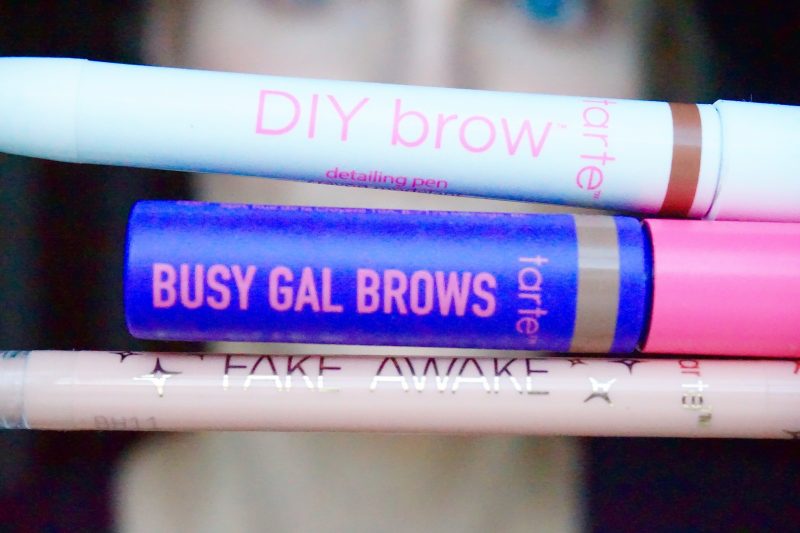
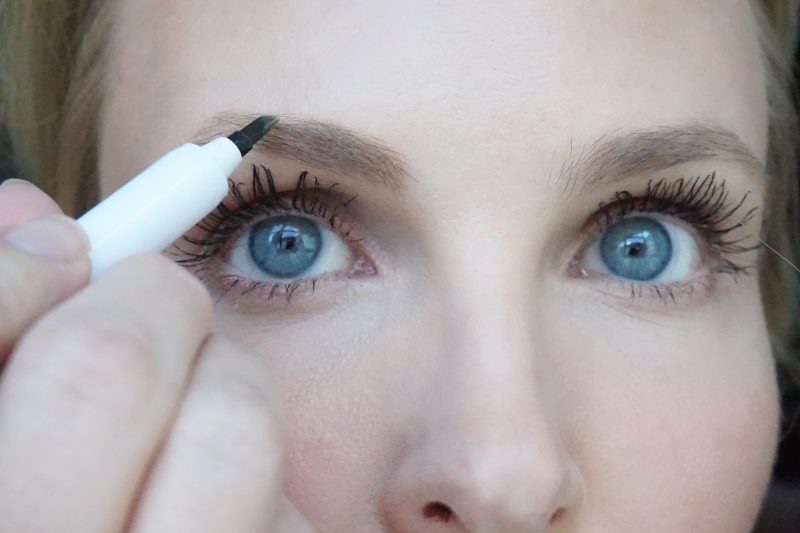
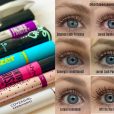
Lately I have been reaching for a brow pen over a brow pencil. Just like a liquid eyeliner, a brow pen draws a finer, more precise line that looks more like a real brow hair. The Tarte DIY Brow Detailing Pen is a great option- it has a fine, angled-tip that can draw a thicker, darker line the harder you press. For me I press lightly and do short strokes in the direction the brow hairs are growing. Play around with it on your hand first to see what the strokes look like!
As far as which shade to pick: for any brow product I advise that you go a shade lighter than your natural brow hair color. Even if you are brunette with dark brown eyebrows, if you match it exactly, your brows when filled in can look too harsh a la Groucho Marx.
When in doubt, go with a taupe shade! I’ve found that taupe works on most brow shades and complexions, even blondes. I use the Taupe shade in the DIY Brow Detailing Pen and it blends in perfectly.
Another reason to pick a brow pen over a pencil- you can “microblade” your hairline!! Tarte is probably saying, this beauty blogger has gone rogue!!!! But I have been experimenting with drawing in a few hairs in my hairline where it looks a little sparse and the DIY Brow Pen looks better than anything else I have tried! I would recommend doing it where you already have hair but it is a little sparse (so the “hairs” you draw in help hide your bare scalp). Hairline microblading tutorial to follow lol!
Frame Your Brows
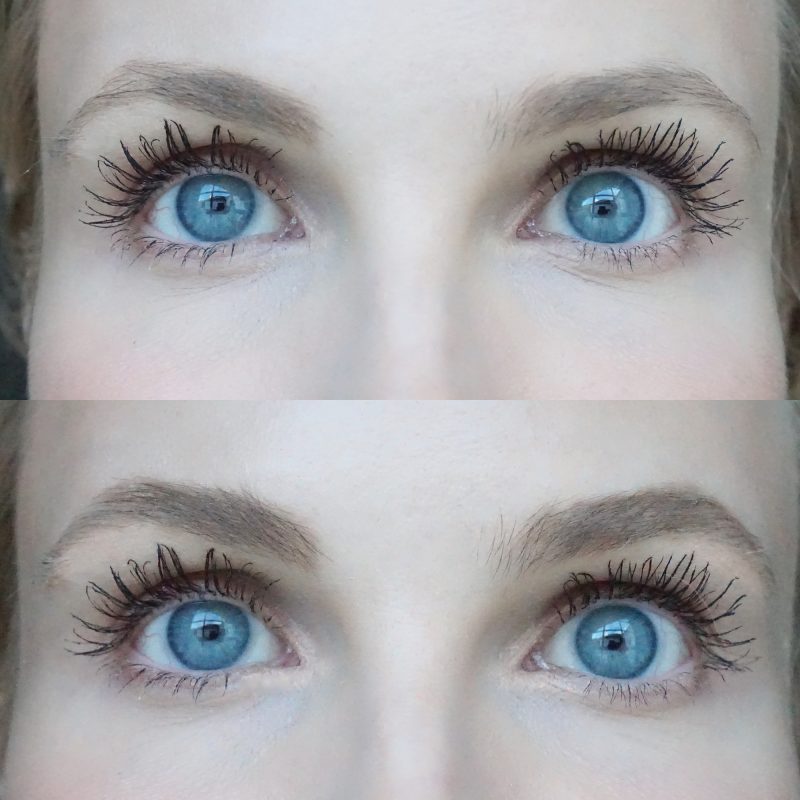
They say brows should look like sisters, not twins. But I always pick the brow I like better and then try to mimic the same shape on the other side. For example, my left brow has more of a squared-off inner corner, so I fill in my right brow (with a rounded, sperm-y end) to mirror my left side.
I use light, short strokes to frame the shape I want on the inner corners, arch, and tail of the brow. Basically frame out the brow to get it the thickness you want, including drawing in some hairs at the peak to give your brow a perfectly angled arch. Increasing the thickness of your brow on the top side visually draws the eye up, giving a more lifted appearance.
Fill In Sparse Areas
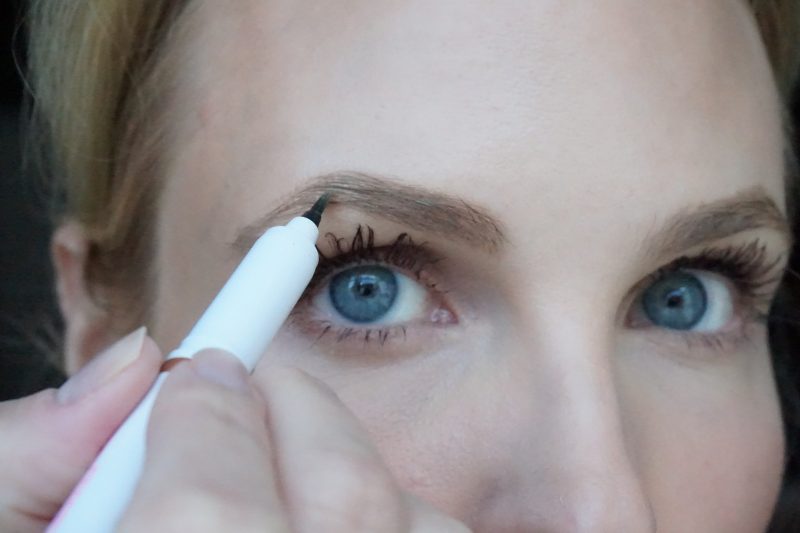
Once you have framed out the outer borders of your brows, use the same small, light strokes to fill in any bald spots or sparse areas. With a pencil you can cover more area, but the fine strokes from the DIY Brow Detailing Pen look more like actual hairs.
Brush Up to Blend In
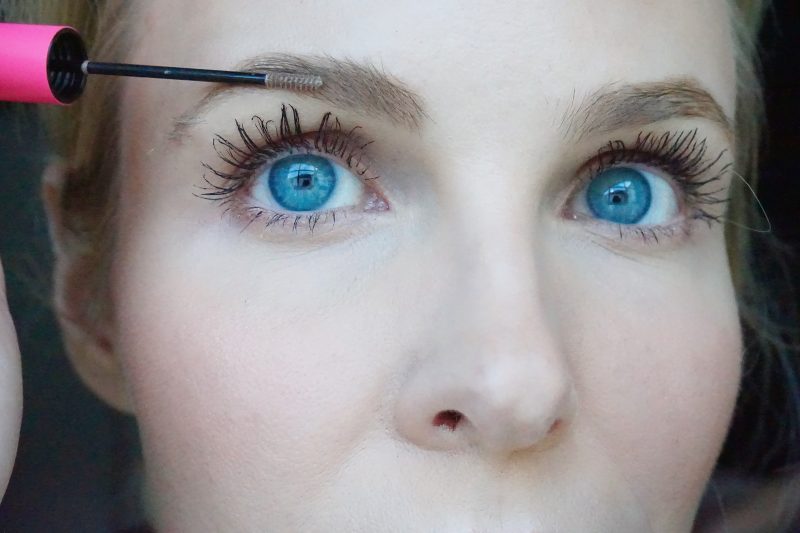
The DIY Brow Detailing Pen comes with a spoolie that you use to brush upward on your brows to blend in the strokes and also give a more uplifted effect to your brows. You can use the spoolie, but I prefer to use a multi-tasking brow mascara like Tarte Busy Gal Tinted Brow Gel (I have the Ash Blonde shade). The Busy Gal Tinted Brow Gel has fibers to make brows appear thicker, and also keeps the brows you brushed upward in place.
Want the quick and dirty brow method? Skip all the above steps and just brush the Busy Gal onto your brows! This gives a more, natural, youthful and fluffy look as opposed to a stenciled-on, brow on fleek. Busy Gal has become my absolute favorite brow mascara (better than Benefit Gimme Brow, Glossier Boy Brow, and my previous favorite, Maybelline Brow Precise) because it does not deposit the pigment/fibers in a gloppy way. But also because it puts some pigment on the skin so it fills in sparse areas super quickly.
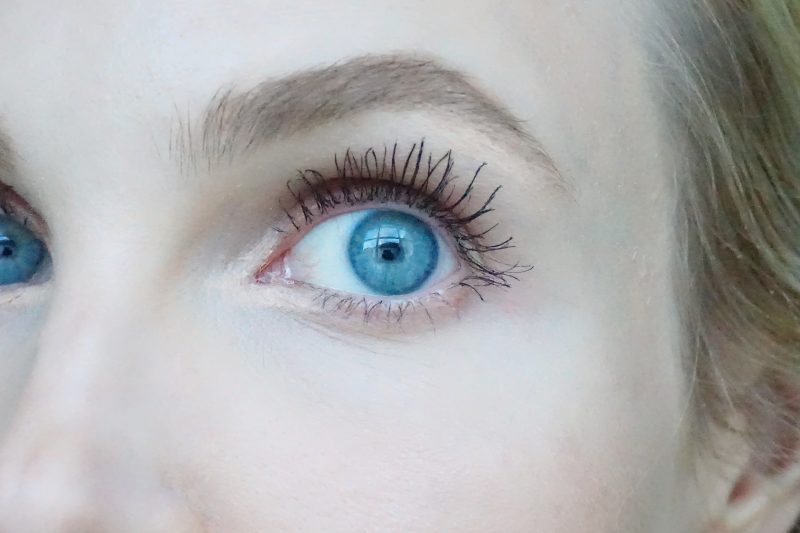
Highlight Under The Arch
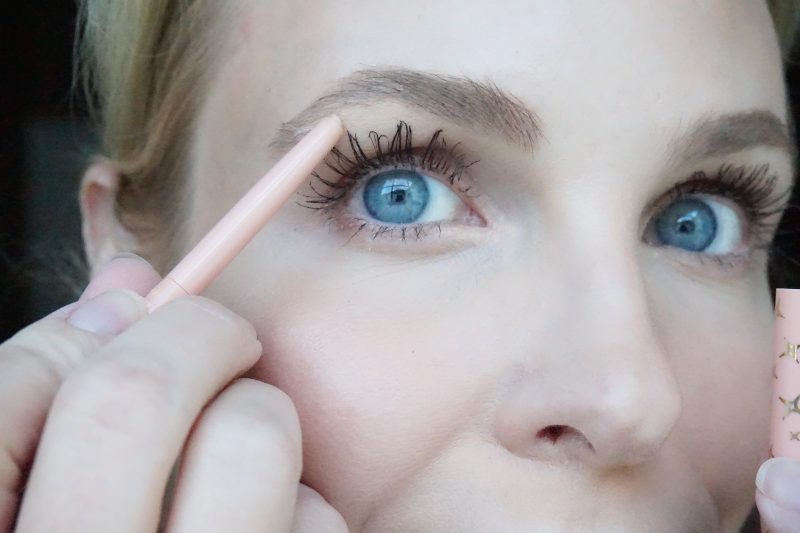
Another way to draw the eye upward and create a more lifted appearance is to highlight under the arch of your brow. You can use the palest shade of any eyeshadow palette (shimmery or matte), or for more punch, you can use a brow highlight pencil like Tarte Fake Awake Eye Highlight.
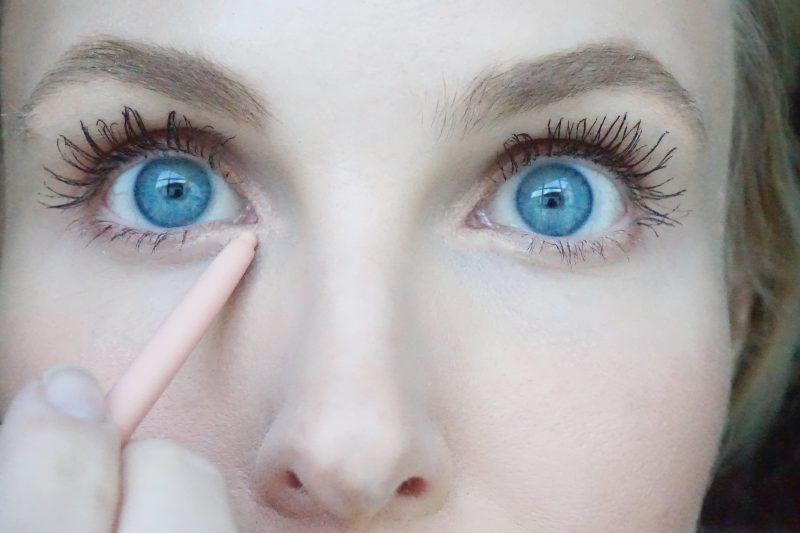
Tarte Fake Awake is a more versatile than other brow highlight pencils on the market because it is thinner and creamier. For example, Fake Awake is perfect for using on your lower waterline to make eyes appear bigger. Or I absolutely love it to highlight the inner corner of the eye for a more awake look. Makeup artists have always advised to do a little triangle of highlight on the inner corner of eyes, but until Fake Awake I never found a product or shade that I thought looked good on me for that purpose.
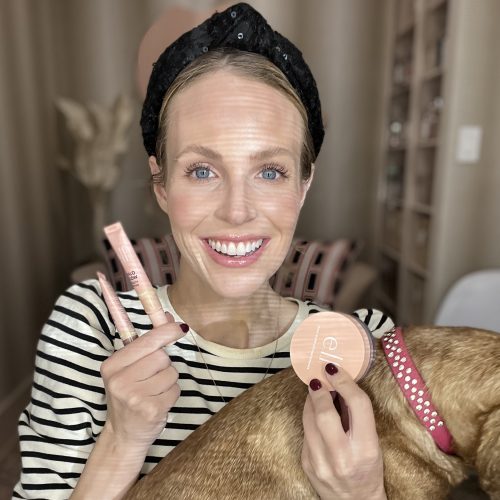
Other makeup I used in this post: Tarte Opening Act Lash Primer (very lifting, curling and lengthening!), Tarte Surfer Curl Mascara (lots of length and curl), and the best highlighter palette in the history of highlighters- the Skin Twinkle Lighting Palette Vol. 2. Don’t forget to use code KATHLEEN for 15% sitewide on Tarte.com. Free shipping right now too!
xoxo,


Leave a Reply