Makeup
Quick Drugstore Makeup Routine
11 • 27 • 2019
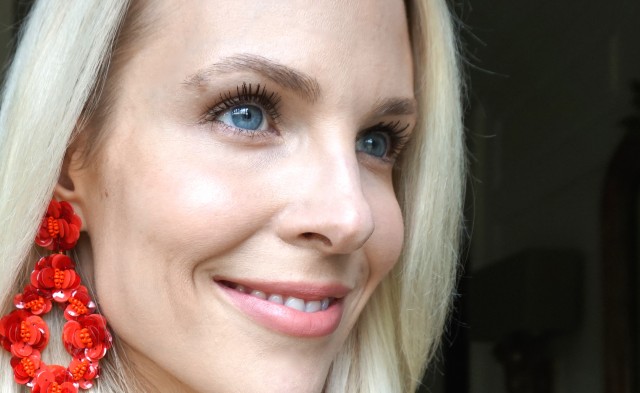
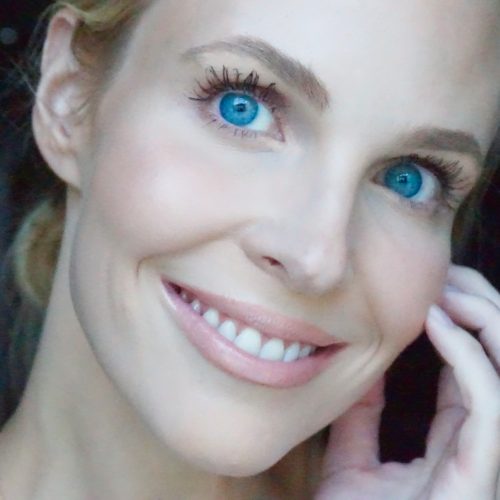
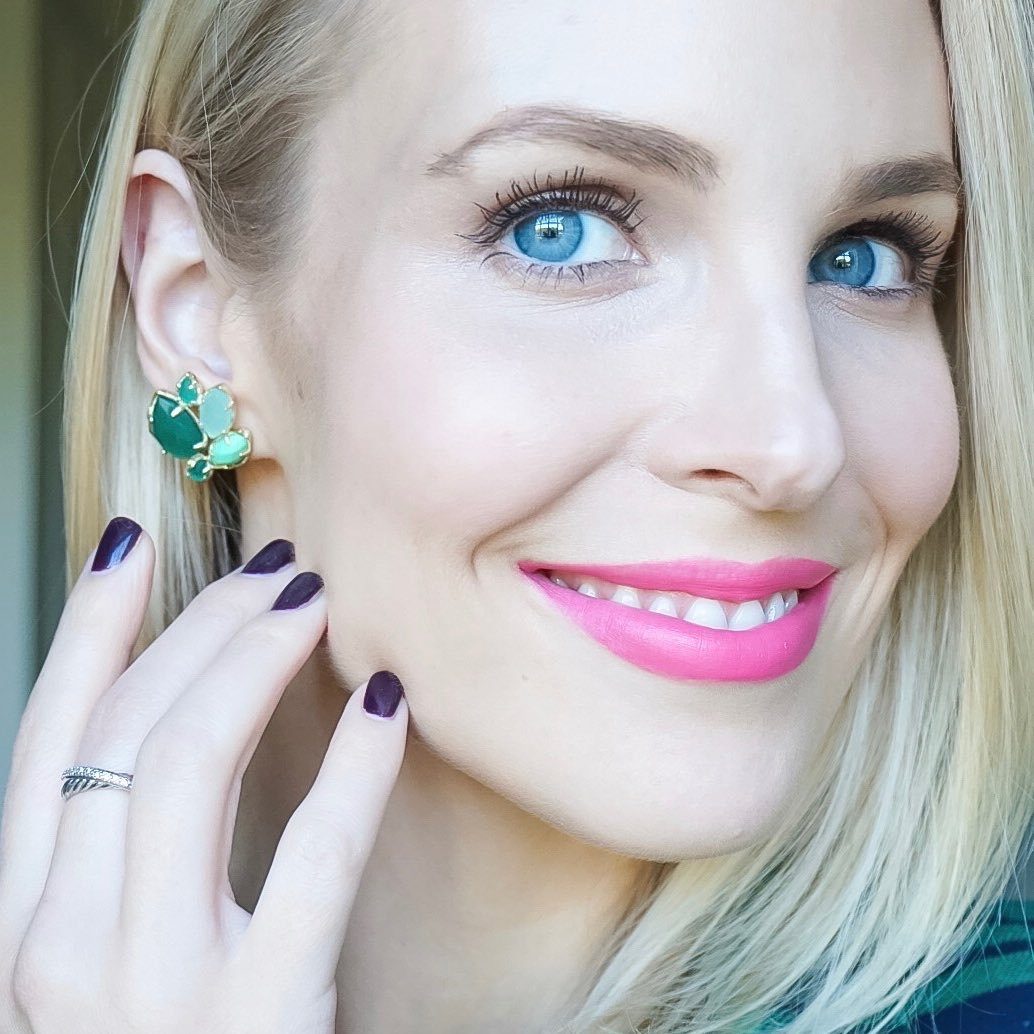
I get lots of questions about a quick everyday makeup routine. So today I am sharing a basic makeup routine, but using all budget-friendly drugstore makeup! Spoiler alert: I look the same as I do with expensive makeup on! Here is my drugstore makeup routine:
Disclaimer:
Walmart compensated me to write this post. As per my usual policy, I only accept sponsored posts from multi-brand retailers where I am allowed to pick the products I feature and the subject matter of the post.
If you want to see a video of how I apply my quick drugstore makeup routine, follow me @kathleenjenningsbeauty on Instagram. I saved the video to my Story Highlights under “Drugstore Makeup.”

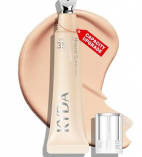
Step 1: Foundation
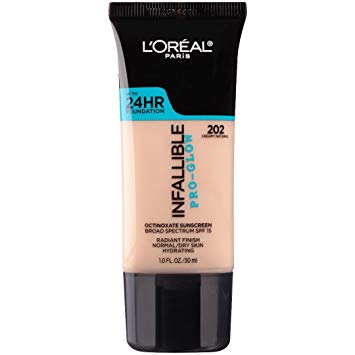
My favorite budget foundation is the Loreal Infallible Pro-Glow (I wear shade 202 Creamy Natural). During the daytime I usually use a foundation with more SPF (although the Loreal does have SPF 15). The Loreal Pro-Glow is actually my favorite foundation to use for nighttime events- I choose it over expensive brands!
The Loreal Infallible Pro-Glow is a fabulous medium to full coverage foundation with a slightly dewy finish. I apply with my fingers and then blend out any edges with a basic wedge sponge.
Step 2: Concealer
Yes, you should do your concealer AFTER foundation. Otherwise applying your foundation will disturb your carefully placed concealer. My main personal skin concerns are under-eye circles and redness around my nose. If your under-eye circles are very dark, I recommend using a corrector first underneath your concealer. My favorite corrector on the market, drugstore or otherwise, is the L.A. Girl Pro Conceal in Light Yellow.
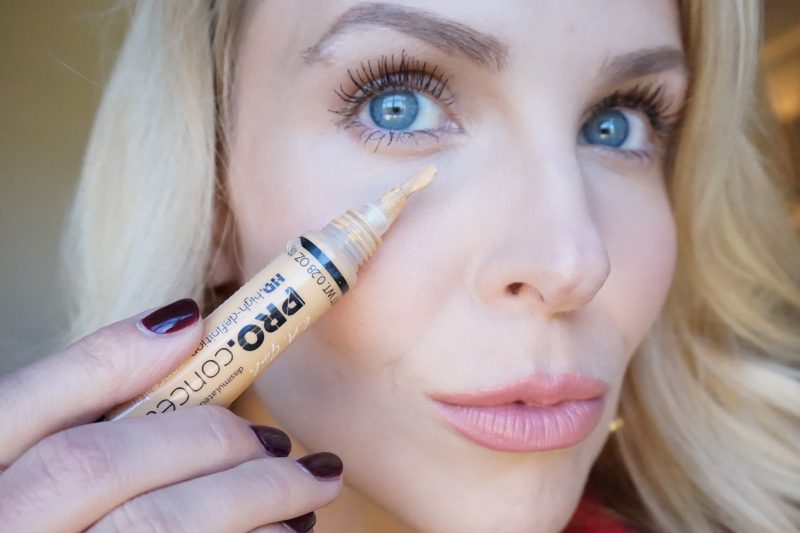
The LA Girl Pro Conceal is a YouTuber fave with a great shade selection and full coverage. I wear the Yellow shade under my regular concealer to completely cancel out the blue tones of my under eye circles.
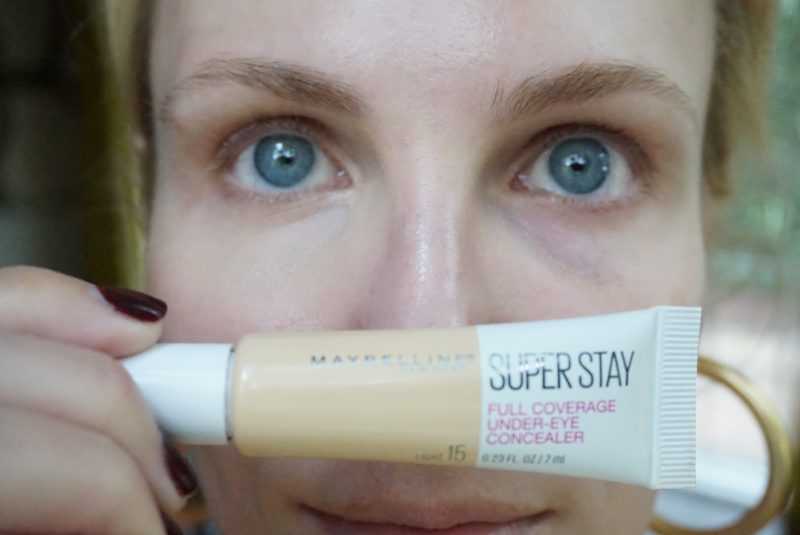
The Maybelline Super Stay Longwear Under-Eye Concealer is the best drugstore concealer I have ever tried. (I wear shade Light.) Gently tapped in with my ring finger, this concealer has great coverage, and the finish is not too chalky or glowy. Importantly it does not break up and get dry-looking after a few hours like most drugstore concealers. You can also tap on an additional layer AFTER setting powder or to touch up later in the day and it won’t look cakey. Very few concealers on the market can do that.
Step 3: Set with Powder
My YouTuber-friend @mego said the Maybelline FIT me! Loose Powder is phenomenal and she’s right! I usually don’t like loose powders because they are a mess to travel with, but lately I have been reaching for the FIT me! over my usual Charlotte Tilbury Airbrush Flawless Filter Powder.
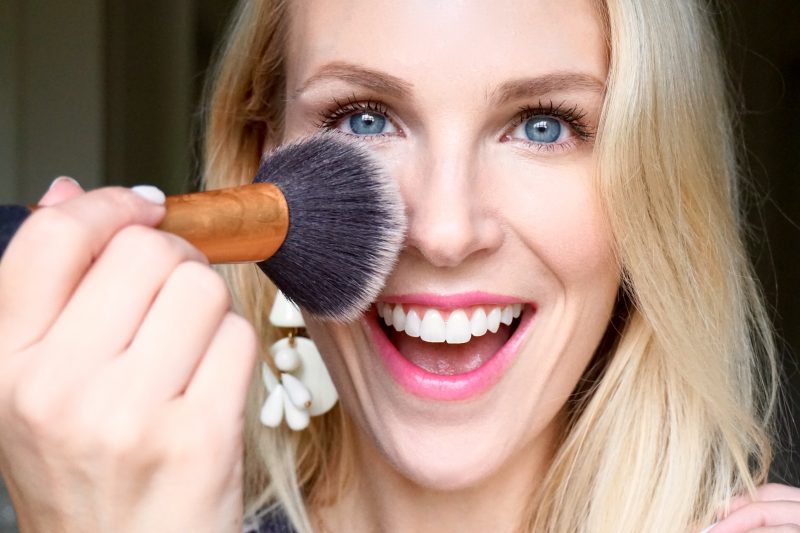
Dust the powder all over with a fluffy brush, like this Real Techniques Powder Brush. Try to just dab the brush on instead of using a wiping motion or else you will rub off the foundation and concealer you just applied.
Step 4: Bronzer
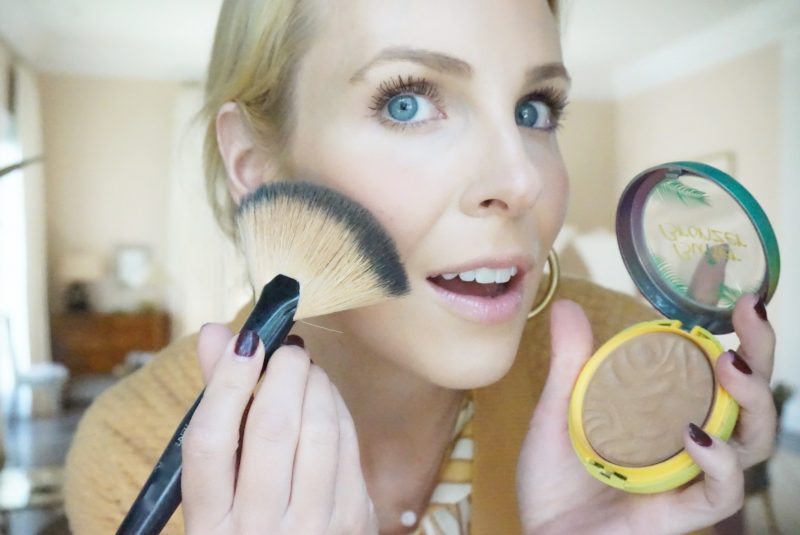
My favorite bronzer is the cult-fave Physician’s Formula Butter Bronzer. The lasting powder is not the best, but I reach for it every single day because it has the best non-orangey color and a finish that makes you look glowy, not shimmery.
I sweep bronzer on my cheekbones, top of forehead near the hairline, and underneath my jawline to create the appearance of a sharper jaw. Most days I use the Butter Bronzer I skip blush because I feel like the bronzer gives me enough color and definition. But if I’m looking especially pale, I will do a pop of Milani Romantic Rose Powder Blush right on the apples of my cheeks. Romantic Rose is a neutral pink blush that will suit most skintones.
Step 5: Brows
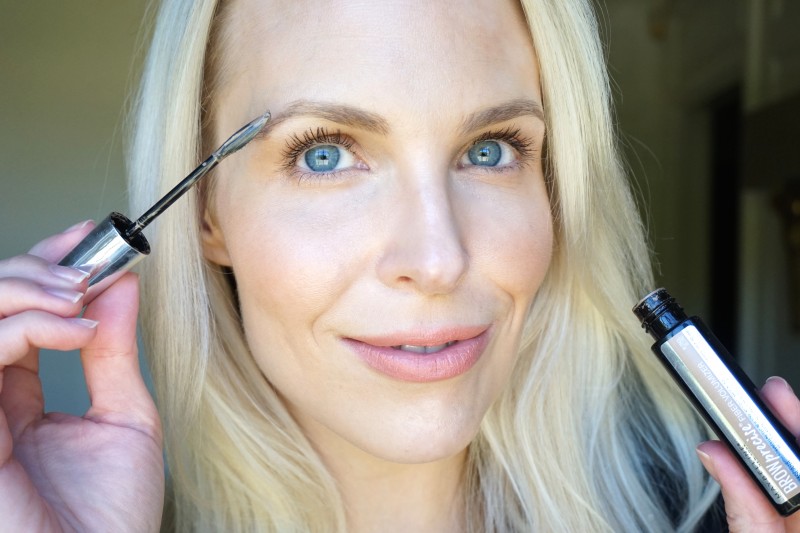
For a quick, feathery brow look, I do a few quick swipes of Maybelline Brow Precise Brow Mascara. I like it better than Glossier Boy Brow or Benefit Gimme Brow! I use the Blonde shade.
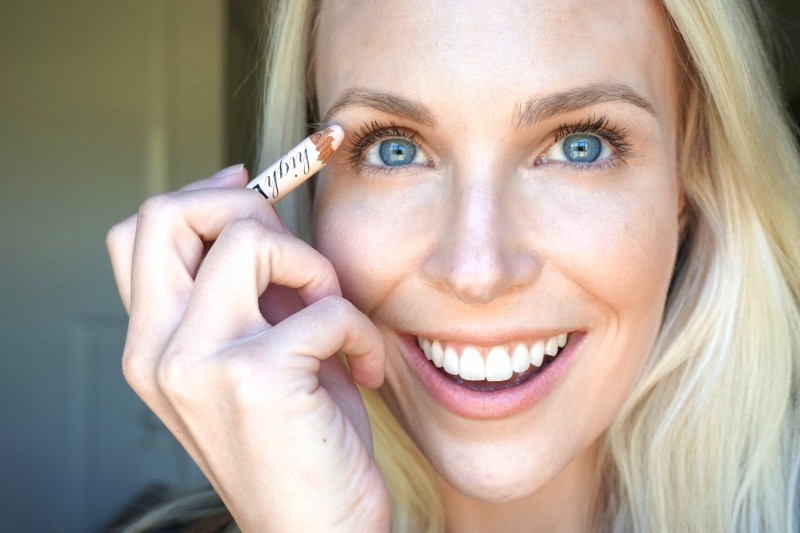
Also to define your arch and give your eyes a little “lift,” apply a white or light colored crayon under just the tail of your brow. You can create this effect with a concealer crayon that is lighter than your usual shade, or try this Maybelline Brow Precise Creamy Brow Highlighter. The brow highlighter might seem like an unnecessary extra step, but it really does create a more lifted, awake appearance!
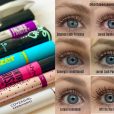
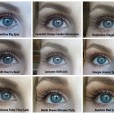
Step 6: Mascara
My current favorite drugstore mascara is Loreal Unlimited Mascara. It has a brush that bends at a 90 degree angle so you can really get into the corners, which is great for smaller eyes like mine. It also lifts and curls lashes without using a lash curler.
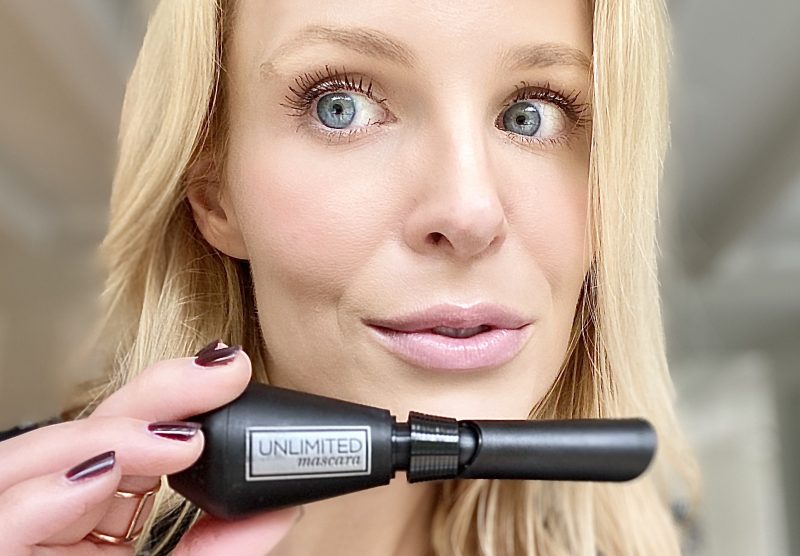
I also recommend Loreal Unlimited Mascara frequently to readers because I really like the Black Brown shade- it is very dark brown without looking too stark on blondes like a black mascara can. It is so difficult to find a good brown mascara these days- all the department store brands seem to be discontinuing theirs!
Step 6: Lips
If you must wear a lipliner, Rimmel Lip Liner is has great lasting power and a creamy consistency. I like the shade Eastend Snob, which is similar to Charlotte Tilbury Pillow Talk. But on most days when I am doing a simple makeup routine, I skip liner and just swipe on the lipgloss that lives in my purse.

I absolutely swear by the Neutrogena Hydro Boost Hydrating Lip Shine. It is super glossy and plumping with a great shade selection. My favorite shades are True Nude (which most people report is too light on them), Pink Sorbet and Ballet Pink. Most importantly, Hydro Boost lipgloss will fix your chapped lip problems! As long as I wear the Hydro Boost most days, my lips are not flaky, dry and chapped at all. It is my ride or die lippie and one will forever live in my makeup bag!
xoxo,


Leave a Reply