Makeup
That Cheekbone Bling
03 • 31 • 2020
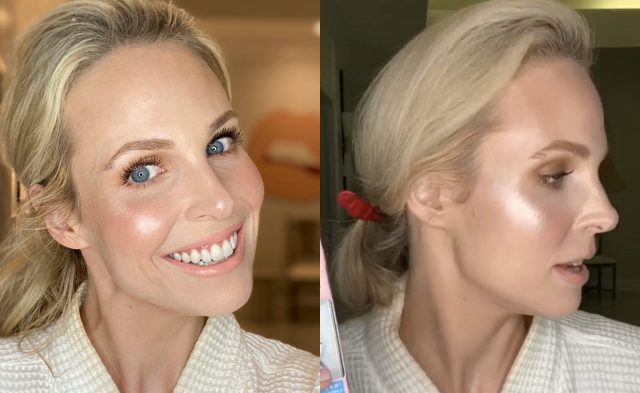
I’ve been trying to do more makeup tutorials on IGTV lately, mostly as a fun distraction during quarantine. One of the main questions I get is, what makeup products give you that glow? Of course, you can’t look glowy without a good skincare regimen and, in my opinion, frequent masking! But sweeping on the right highlighter can make those cheekbones pop and brighten and lift your whole face. Today I am discussing my favorite highlighter and the makeup I use to get a glowy look in three steps:

Disclaimer:
Sephora compensated me to write this post. As per my usual policy, I only accept sponsored posts from multi-brand retailers that allow me to pick the products I feature and the subject matter of the post.
Step 1: A Glowy Base
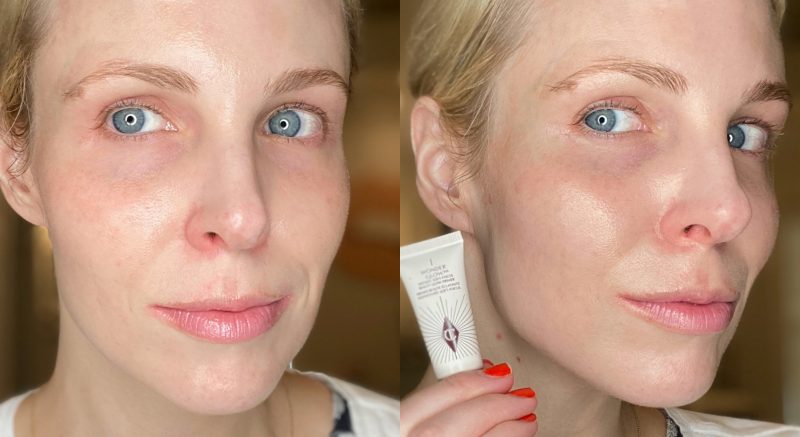
Honestly this step is extra credit. If you only want to commit to one thing, skip to the highlighter in Step 2. For events at night, I love to add a radiant primer underneath my foundation. A radiant primer smooths out the canvas and gives a “lit from within” glow in a very subtle way. My favorite options in this category Becca Backlight Priming Filter or Charlotte Tilbury Wonderglow Face Primer.
The Charlotte Tilbury Wonderglow has slightly more pigment than the Becca. So I would describe Wonderglow as more of a tinted primer that definitely has shimmer. If you have good skin and don’t need much coverage, you could get away with using the Wonder Glow solo as your foundation. Maybe just add some coverage where you need it (redness around nose, under eyes) with the Hourglass Vanish Foundation Stick (I wear shade Shell).
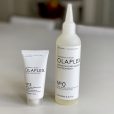
You should make sure you are signed up for Sephora’s Beauty Insider Program because this past month one of the 100-point rewards was a deluxe sample of the Charlotte Tilbury Wonderglow Face Primer. It is a great way to get discounts during their events and to discover new products! Learn more and sign up for the Beauty Insider program here.
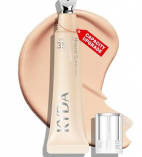
Top your radiant primer with any regular foundation for a subtle glow without obvious shimmer. Right now for evening I am gravitating toward Giorgio Armani Luminous Silk Foundation (I wear shade 3.5). To set your foundation and give a poreless look, apply Charlotte Tilbury Airbrush Flawless Finish Setting Powder. That one is not shimmery. If you want a setting powder that will add additional glow, I like the Hourglass Ambient Lighting Powder (I use shade Ethereal Light). But warning: shimmer on top of shimmer on top of shimmer can be too much. So play around with it to get the right foundation and setting powder combo!
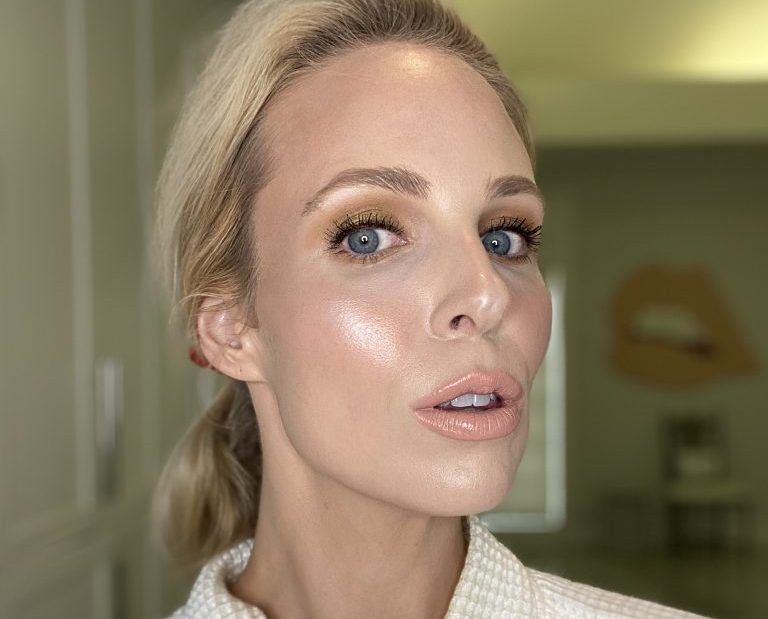
Step 2: Your Cheekbones Be Poppin’
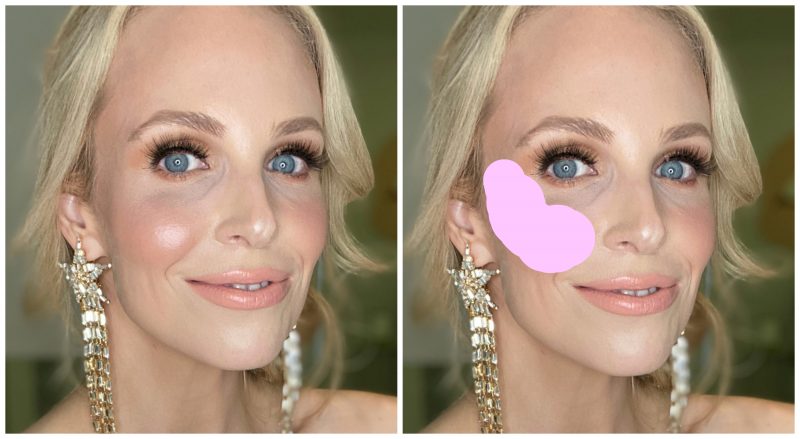
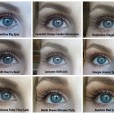
Now it is time to make those cheekbones pop! I apply a shimmery pink blush in a diagonal all the way from the apple of my cheeks to the tops of my cheekbones. My favorite shimmery blush right now is the Charlotte Tilbury Cheek to Chic Blush in Love Glow. I also really like the Laura Mercier Shimmer Bloc, but the shade I have, Pink Mosaic, is sold out everywhere. Sephora still has the Peach Mosaic available. The pigment and glow is really incredible and makes the apple of your cheek look plumper (in a good way!) This shows the placement of my blush:
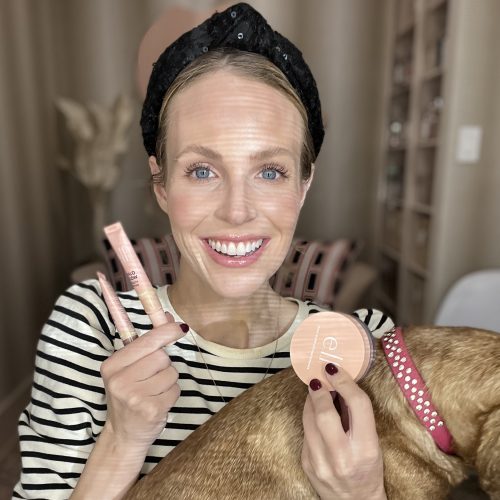
Then comes highlighter- my favorite highlighter ever is the Tarte Rainforest of the Sea Twinkle Lighting Palette (now I see it is not currently available at Sephora. Insert Face Palm emoji). My second favorite highlight is Becca Shimmering Skin Perfector in Champagne Pop. I much prefer powder highlighters over cream highlighters. I find that if I apply a cream highlighter it disturbs my foundation and concealer and then my melasma shows through more.

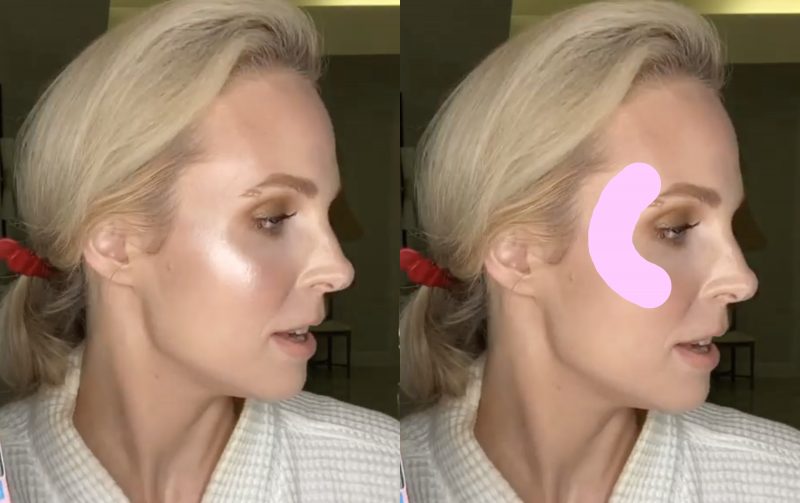
Using this small fan brush I sweep on the highlighter in a large “C” shape on top of my cheekbones and temples. I tried to show the highlighter placement here:
I also do a a tiny sweep of of highlighter on the tip of my nose and above the cupids bow of my lips.
Step 3: A Little Shimmer Spray
This is another optional step, but involves a recent makeup discovery that I am very excited about! After I am done with my makeup, I spray Patrick Ta Major Glow Highlighting Mist. I hold the aerosol can about 10 inches from my face and spray all over for a few seconds. The directions say to spray it just on areas you want highlighted, but the shimmer is so fine that I think it looks great to spray all over to give an incredible glow and airbrushed look to your face.

I bought two shades, We Need Her (gold pearl) and Look At Her (white pearl). Honestly the mist is so fine that to me they look identical on the face (on my skintone, at least). Love LOVE this product.
At first I thought the Patrick Ta was a shimmery setting spray, but I think I was wrong about that. So after the Highlighting Mist I spray my Holy Grail setting spray, Urban Decay All Nighter. I have used it for years and have repurchased many times (during the last Sephora event I bought a jumbo size). Nothing else locks my makeup in place like the All Nighter!
Keep Calm and Glow on, friends!

xoxo,


Leave a Reply